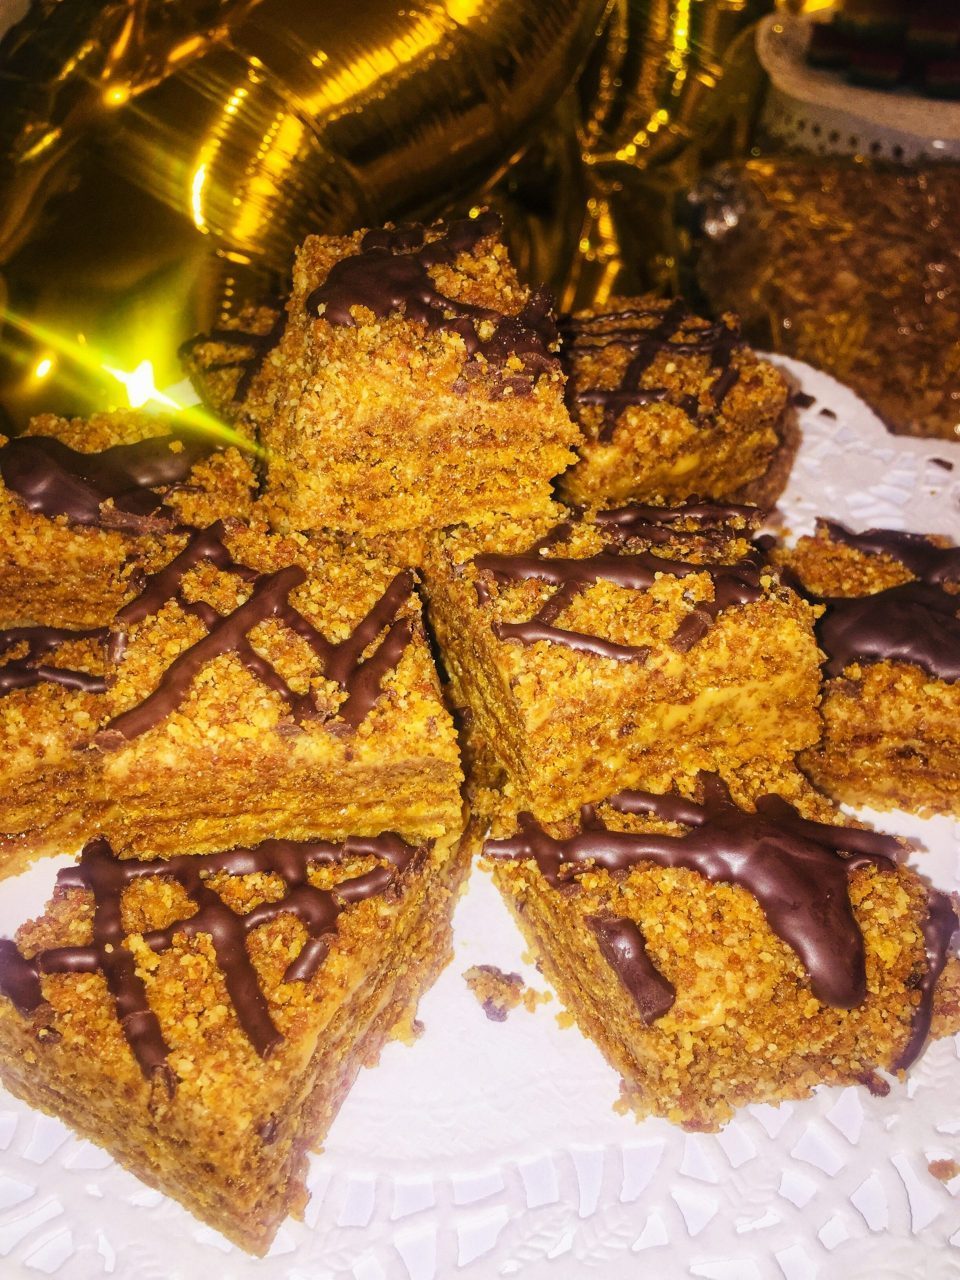
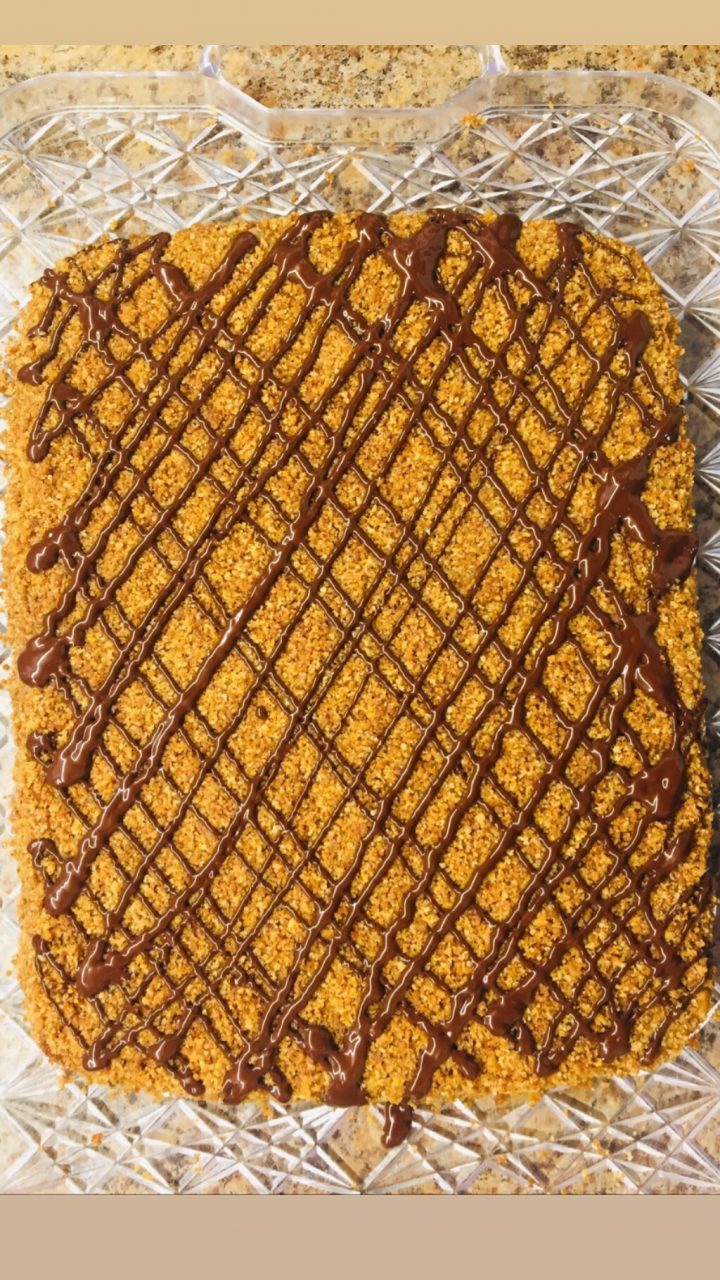
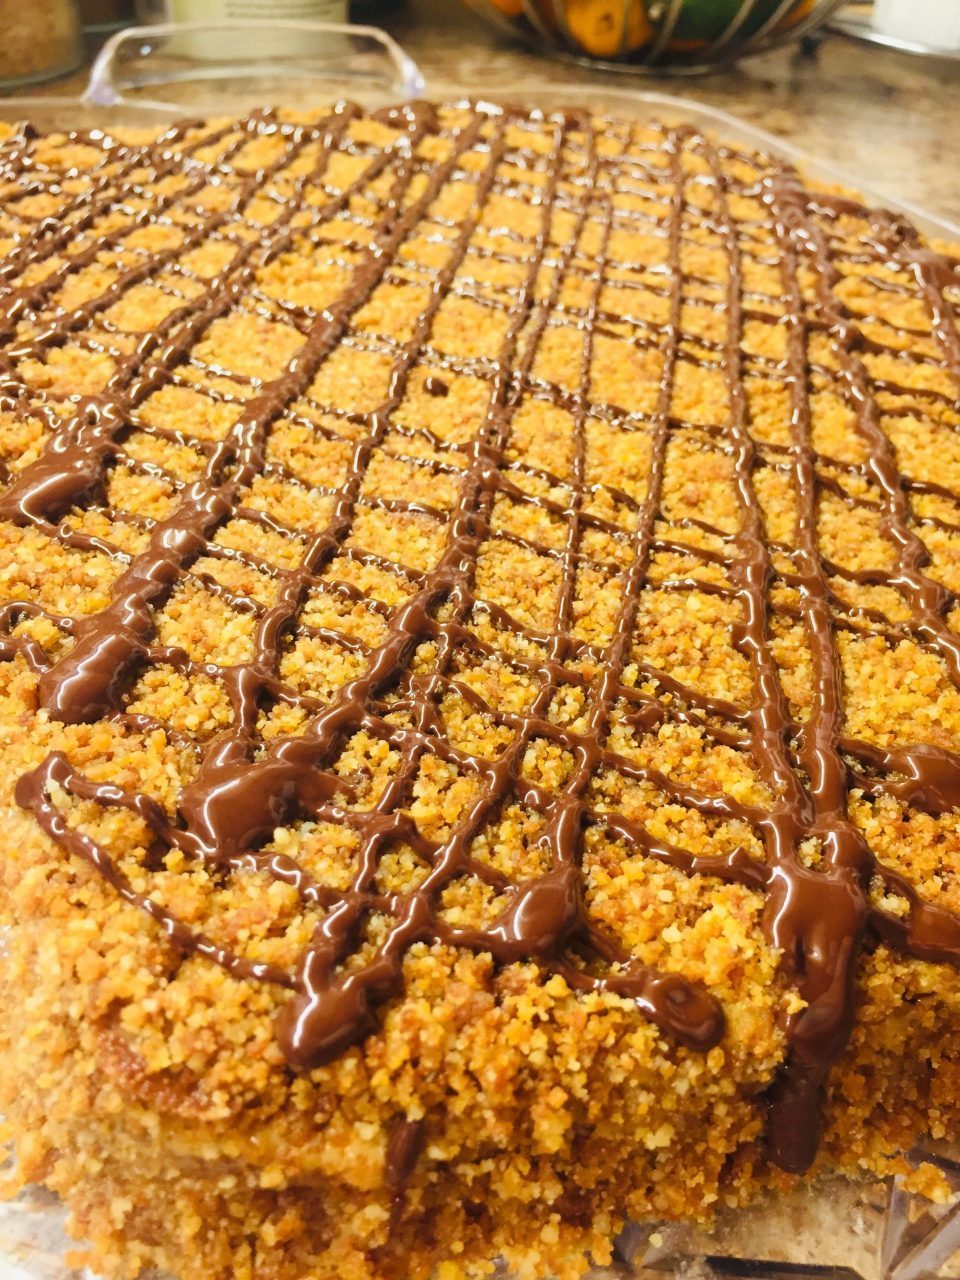
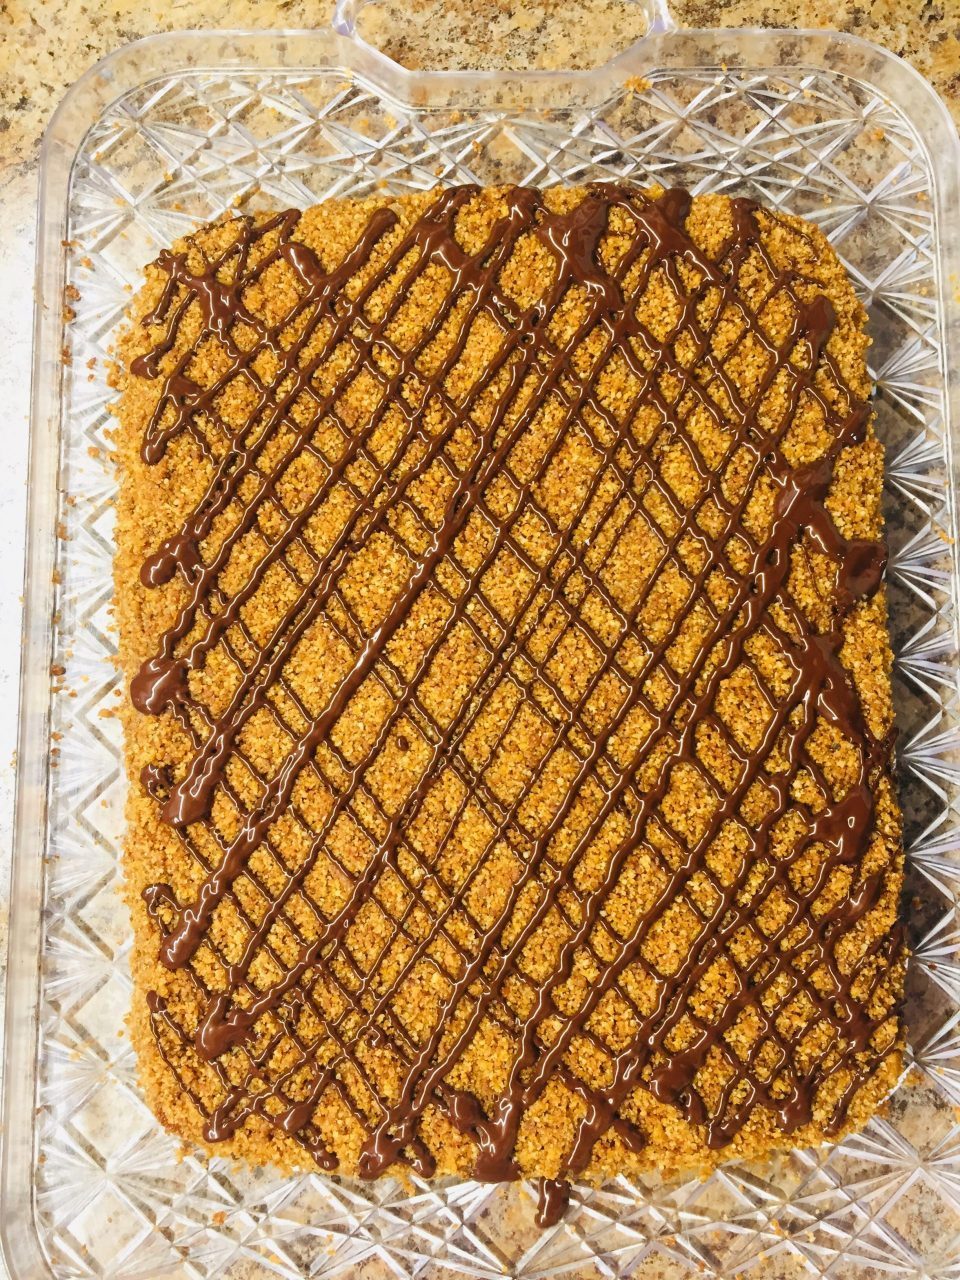
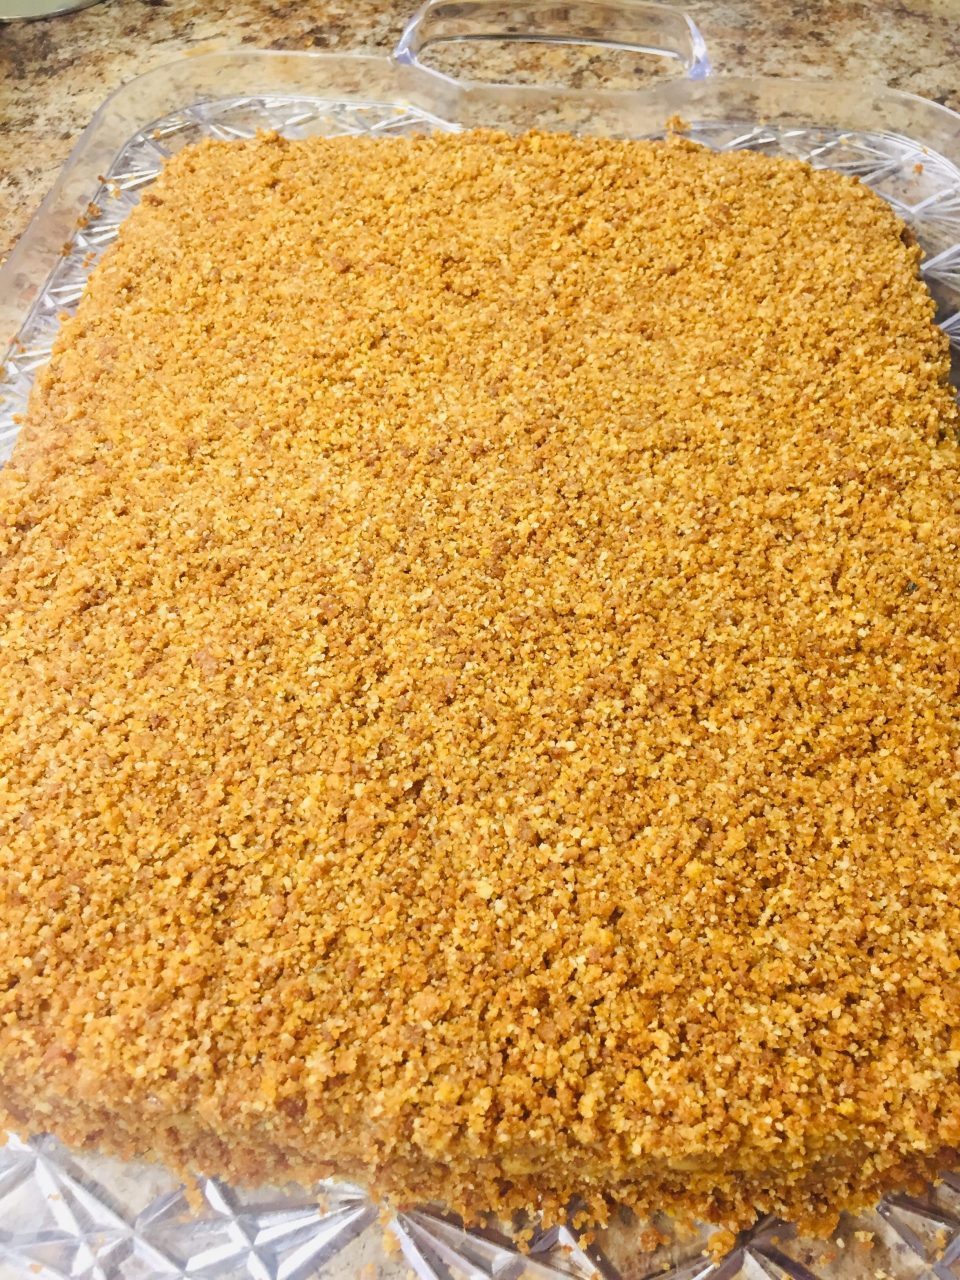
This Honey Cake is one of the most requested holiday desserts in our household. It originated in the 19th century in Russian Empire and has been popular in countries of the former Soviet Union ever since. It is a dessert which is known for its lengthy preparation time and is best made a couple of days in advance before serving. You may bring it completely to room temperature or serve it cold. It’s delicious both ways. It’s a honey flavored sponge cake with caramel cream filling topped with a nutty crumb. Absolutely decadent to say the least.

Serves: 20-25 people depending on the size of the pieces.

INGREDIENTS:

1 (14oz.) can Organic sweetened condensed milk (I get mine at Trader Joe’s) or you can buy pre-made caramel

2 -½ cups Organic Unbleached All Purpose Flour (King Arthur)

1 Tbsp Baking Soda

3 sticks of Organic Grass Fed Unsalted Butter, 1 stick at room temperature (for caramel cream)

¼ cup Organic Clover or Wildflower Honey

3 Large Organic Eggs (I use Pete & Gerry’s)

1 ½ cups Organic Evaporated Cane sugar

1 cup Organic Walnuts

1/2 10 oz. Bag of Enjoy Life Dark Chocolate chips for drizzle

Parchment Paper

Pencil

Off-set Spatula

13 x 9 cutting board

Hand Mixer

DIRECTIONS:

Boil your condensed milk submerged in water for 2 hours. ** (see note) Let cool completely. Beat the cooled caramel with 1 stick of butter. Set aside.

Sift your flour along with the baking soda and set aside.

On your parchment paper, trace the shape of your cake with a pencil. I used a 9×13 cutting board with rounded edges. I had enough dough for 4 layers. Therefore I traced four sheets of parchment paper.

Heat oven to 350°F. In a large Pyrex bowl set over a double boiler, melt 2 sticks of butter over medium heat. Whisk in honey until completely combined. Using a hand mixer beat in your eggs one at a time until incorporated . Now add your sugar and beat again for about a minute or so. Now add your flour/soda mixture. Beat until completely incorporated and creamy. Remove the bowl from the double boiler and set on a trivet or kitchen towel. Measure out 1 cup of dough and put it on your parchment paper. Using an off-set spatula spread evenly going just over the edges that you traced. It’s not supposed to be perfect because you will trim the layers after they bake again with the cutting board over it. Continue with the rest of the dough until you have 4 parchment papers ready with the dough to be baked. Bake for 5-6 min. Cool completely.

Use the same board you used to trace the parchment paper. Put it over each cookie layer and trace again except this time cut with a paring knife. Separate the edges and put them all into a food processor with walnuts continuing to do the same with the rest of the layers.

Now place the first layer on your serving plate. Start spreading the cream filling with the offset spatula. Try to distribute the cream as even as possible. Continue with the rest of the layer until you have used up the cream filling at the top of the last layer and the sides. Using the crumb-walnut mixture, spread some over the top of the cake and sides. Melt your chocolate, transfer to a sandwich bag and cut off a tiny corner and drizzle over the top. Let the chocolate set. Cover with plastic wrap and refrigerate for 2 days.

*recipe is from Czech Cook Book.

VN:F [1.9.13_1145]
Rating: 5.0/5 (1 vote cast)

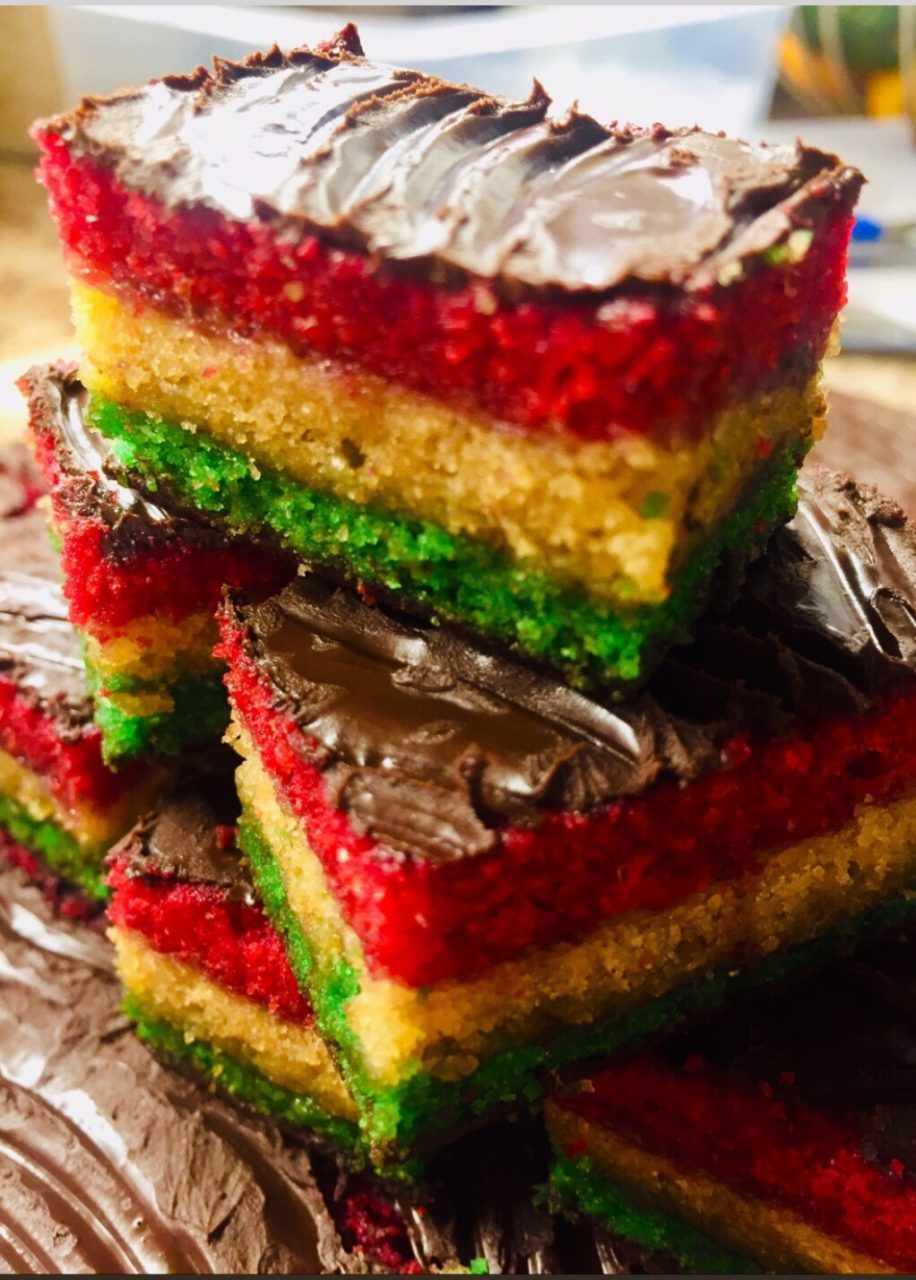
Italian Rainbow Cookies

January 2nd, 2020 | Posted by Milana in Dessert | Italian Cuisine - (0 Comments)

Italian Rainbow Cookies

INGREDIENTS:

1.5 Cups Organic Vegan Shortening (I use Spectrum Organics)

1 Cup Unbleached All Purpose Flour (I use King Arthur Flour)

1 Cup White Whole Wheat Flour (I use King Arthur Flour)

8 oz. Almond Paste (I use Solo )

1 Cup Coconut Sugar (I use Madhava)

4 Large Eggs, Room Temperature, Separated (Pete & Gerry’s Organic)

1/2 tsp Almond Extract (I use Flavorganics)

1/2 tsp salt ( I use Himalayan salt)

Red and Green Plant Based Food Coloring (I use Color Garden Dyes Holiday Pack)

1/2 Cup Organic Apricot Preserve (I use Trader Joe’s)

1/2 Cup Organic Seedless Raspberry Preserve (I used Trader Joe’s)

1/2 a package of 10oz. bag of Enjoy Life Semi Sweet Chocolate Chips

1/3 bar of 100% Cacao Baking bar (I use Dagoba Organic)

1 Tbsp Vegan Shortening

Cooking Spray

3- 9” x 13” x 0.75” non-stick pans

Off-Set Spatula

food processor

Parchment Paper

Cooling Rack

DIRECTIONS:

1.Prep. First, position racks in the upper and lower thirds of the oven; preheat to 350 degrees F. Spray the pans with cooking spray and lay parchment paper in each one. 

2.Make the batter.  Put your almond paste in a food processor to get it finely crumbled.  In a stand mixer fitted with the paddle attachment, combine the almond paste, sugar, and the shortening.  Beat on medium speed until combined.  Beat in the egg yolks, one at a time, and extract and until smooth . Add flour and salt and beat until just combined. In a clean bowl, using a hand mixer, whisk the egg whites on low-medium until stiff peaks form. Fold about one-third of the egg white mixture into the batter with a rubber spatula, then gently fold in the rest.

3.Color the batter. Divide the batter evenly among 3 bowls. I used a digital kitchen scale. Stir enough red and green food coloring in 2 of the bowls to create a red and green batter.  Leave the third bowl uncolored.

4.Bake the layers. Transfer the batter to the prepared pans (one pan for each color). Dip an offset spatula in water and spread the batter to the edge of each pan, smoothing the tops (the layer of batter will be very thin).  Bake for about 8 to 10 minutes. Let cool completely in the pans on wire racks.

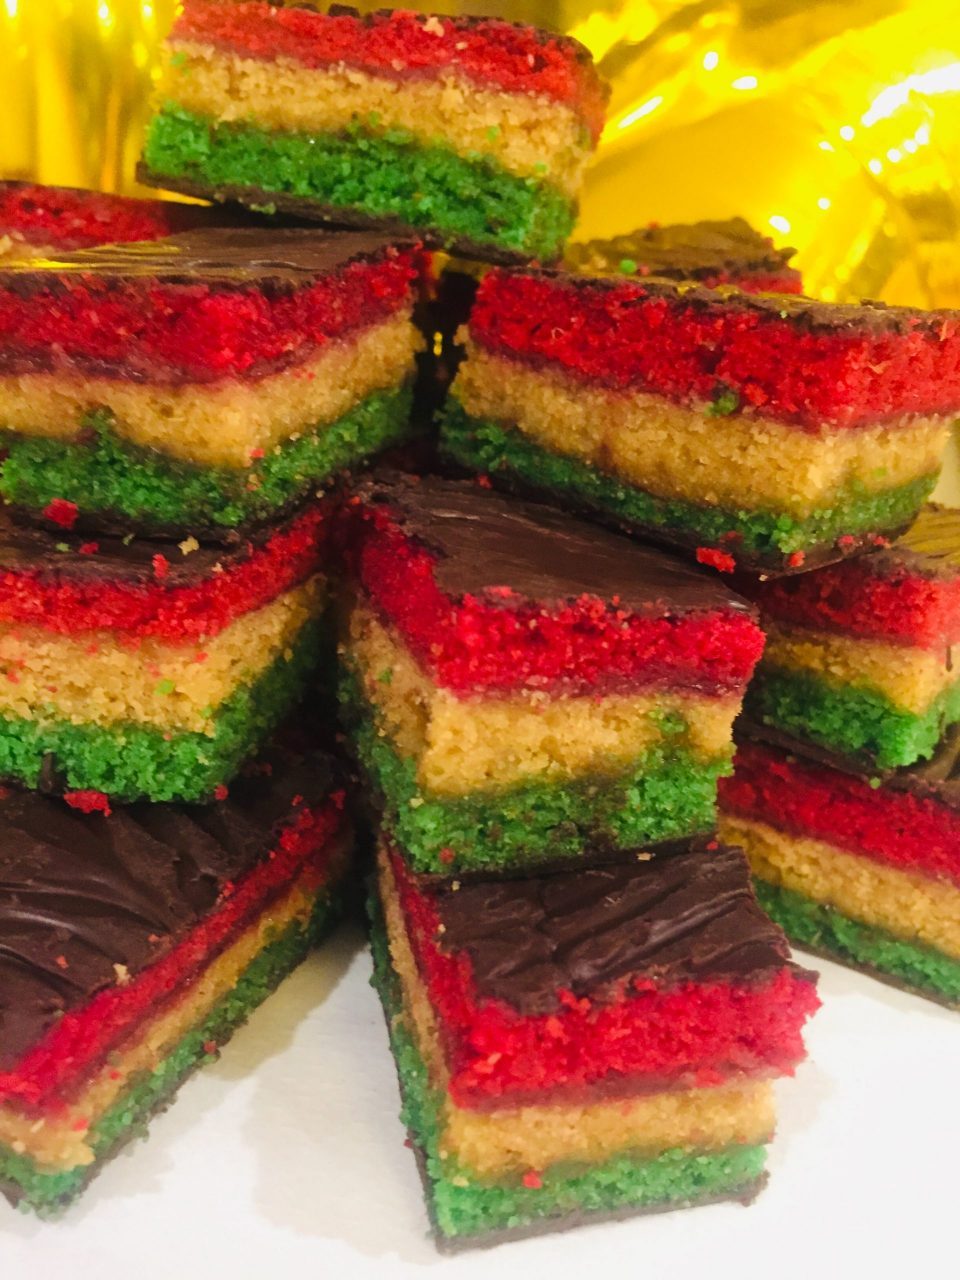
5.Assemble the layers. Remove the green layer onto a large cutting board. If your preserves are a bit hard, heat it up until it is somewhat liquefied. Spread the raspberry jam evenly on top of it (use as much as is needed to make a thin layer). Remove the plain cake layer by inverting it onto the green layer.  Peel off the parchment paper. Spread the apricot jam on top of the plain layer. Remove the red cake layer by inverting on top of the plain layer.  Peel off the parchment paper.

6.Trim the cake. Trim the sides with a serrated knife to make straight edges. Set a cooling rack over a baking sheet. Carefully slide the cake onto the rack, using a wide offset spatula to help you, if necessary.

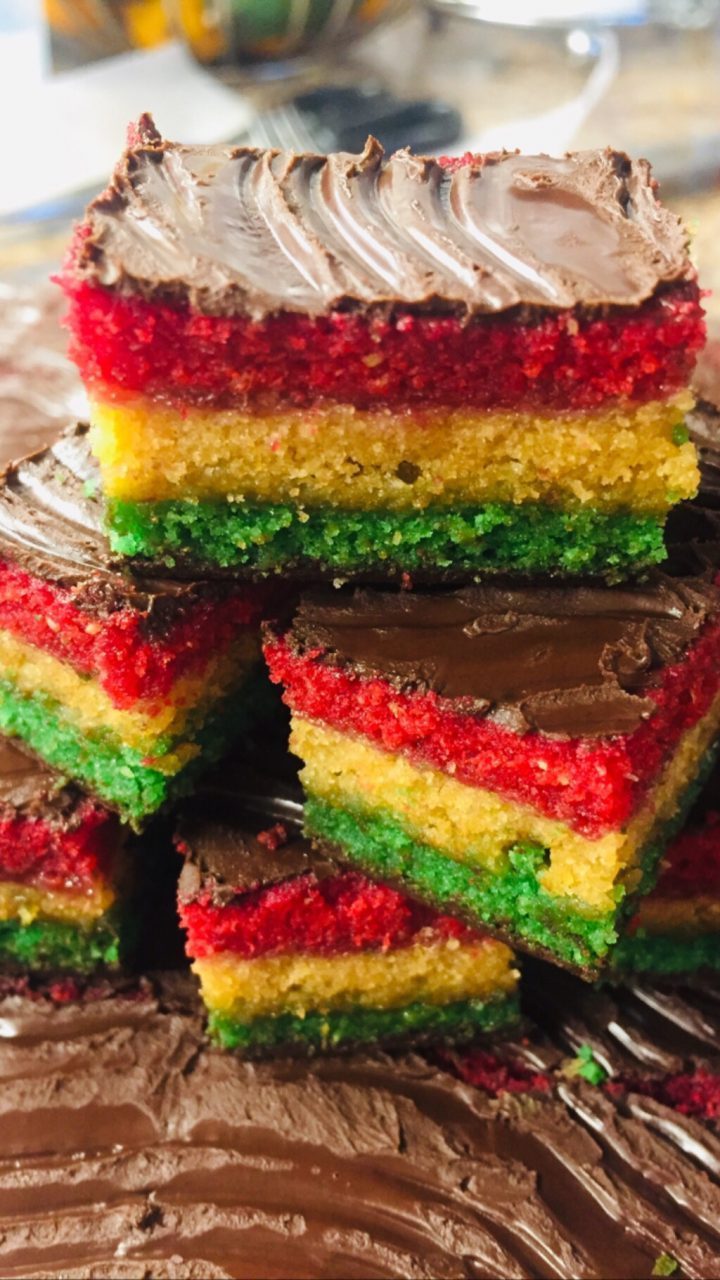
7.Cover in chocolate. Melt the chocolate (preferably in a double boiler) and pour over the cake. Use an offset spatula to spread and smooth the chocolate on the top. Allow the chocolate to cool for 45 min. Flip the cookie to the other side and pour the rest of the melted chocolate.  Let set slightly for about 15-20 minutes. Scrape wavy lines into the chocolate with a fork.  If the lines in the chocolate don’t hold their shape, let the chocolate set a little longer and try again.

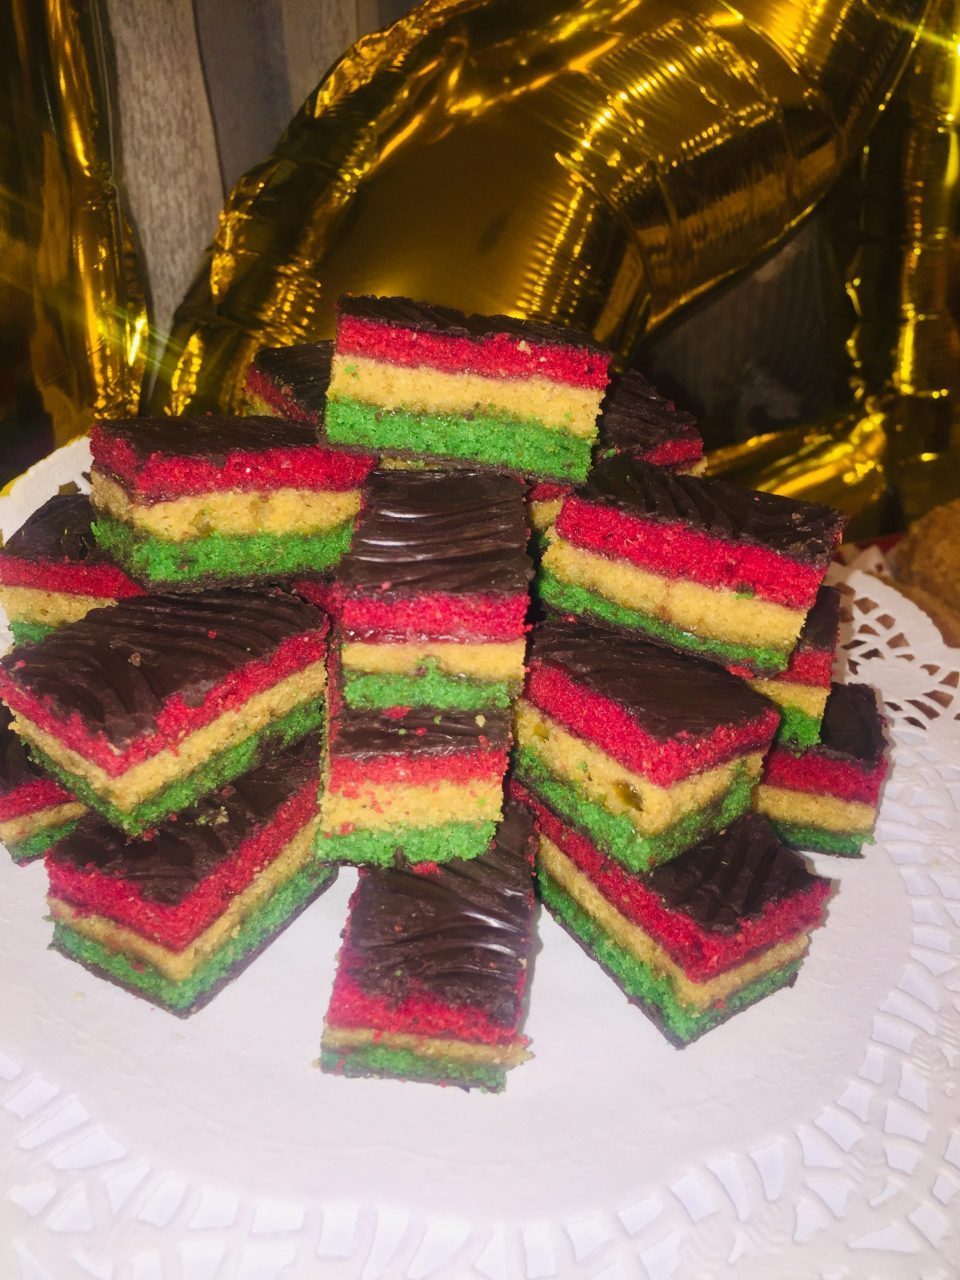
8.Cut the cake. Slide the cake back onto the cutting board. Cut the cake into 1”x 1.5” squares. Slice crosswise into strips, and then cut each strip into rectangular pieces. For clean edges, dip the knife in warm water and wipe it with a paper towel in between cuts.

10.Store in an airtight container.  Your cookies will stay fresh in a tight container at room temperature or in the fridge for up to 1 week, but it’s doubtful these tasty gems will last that long.

Original recipe was adapted from Tripping Blonde.

VN:F [1.9.13_1145]
Rating: 4.3/5 (4 votes cast)

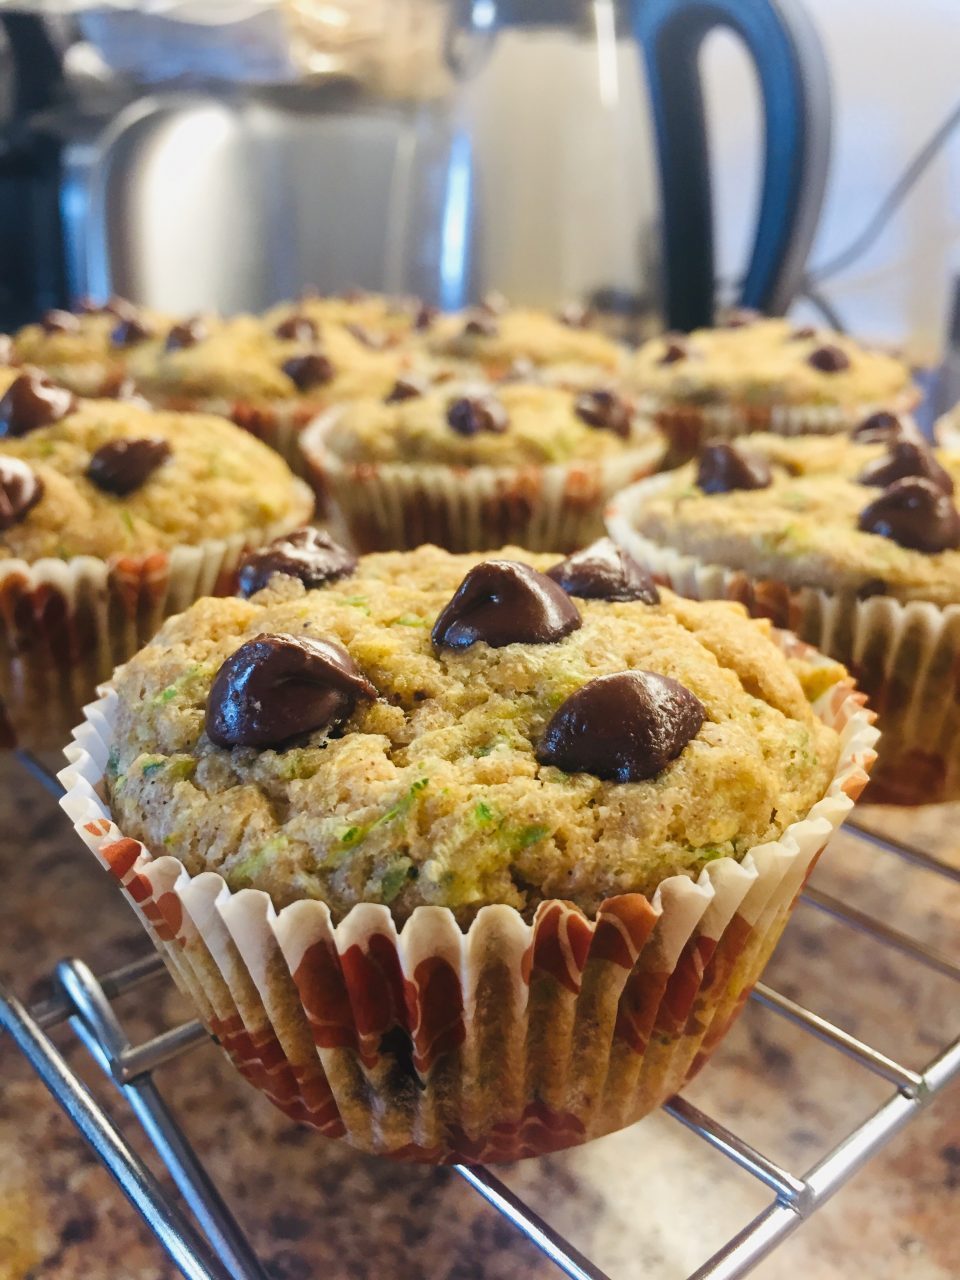
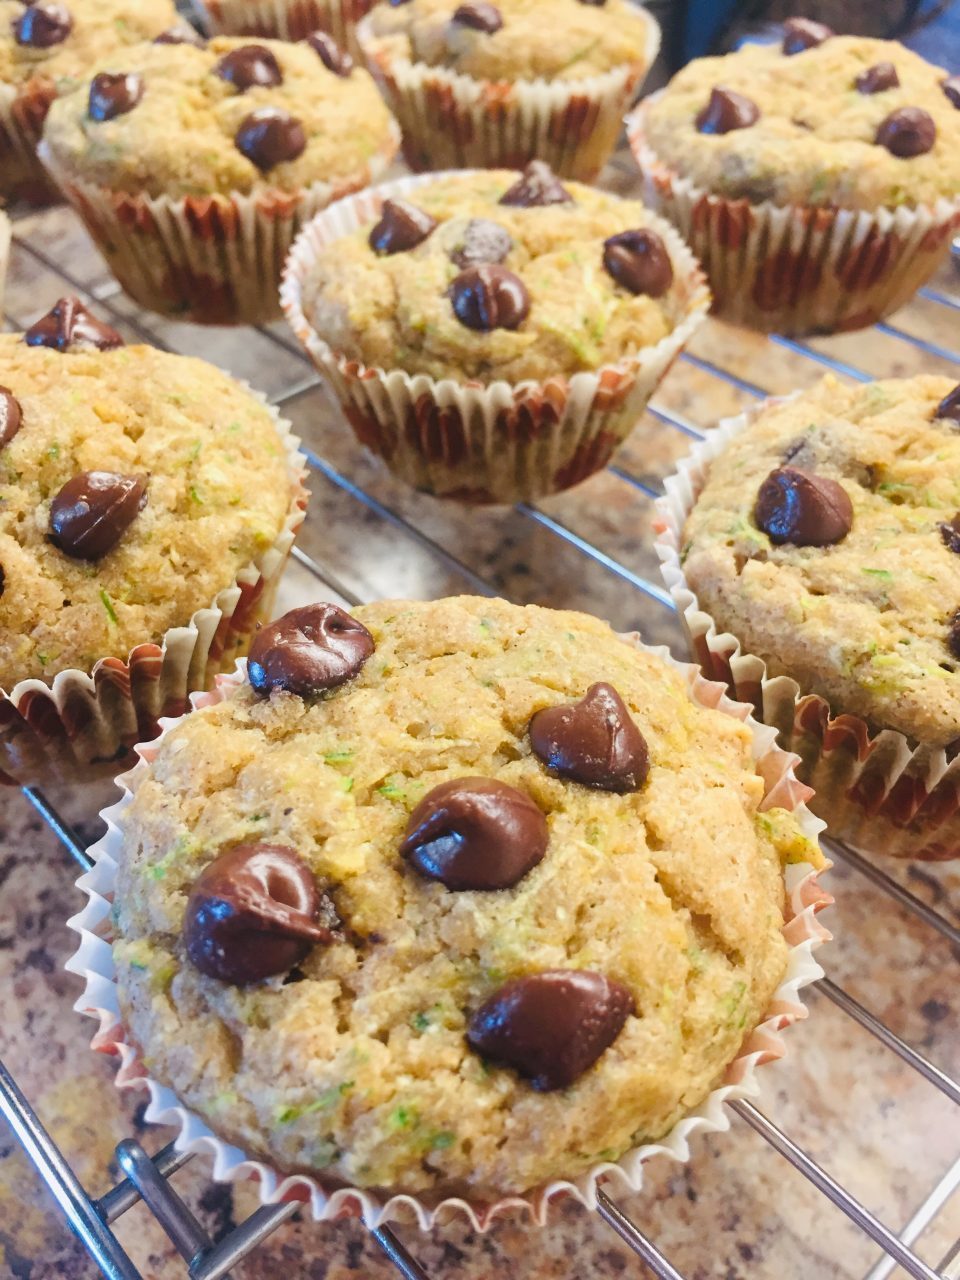
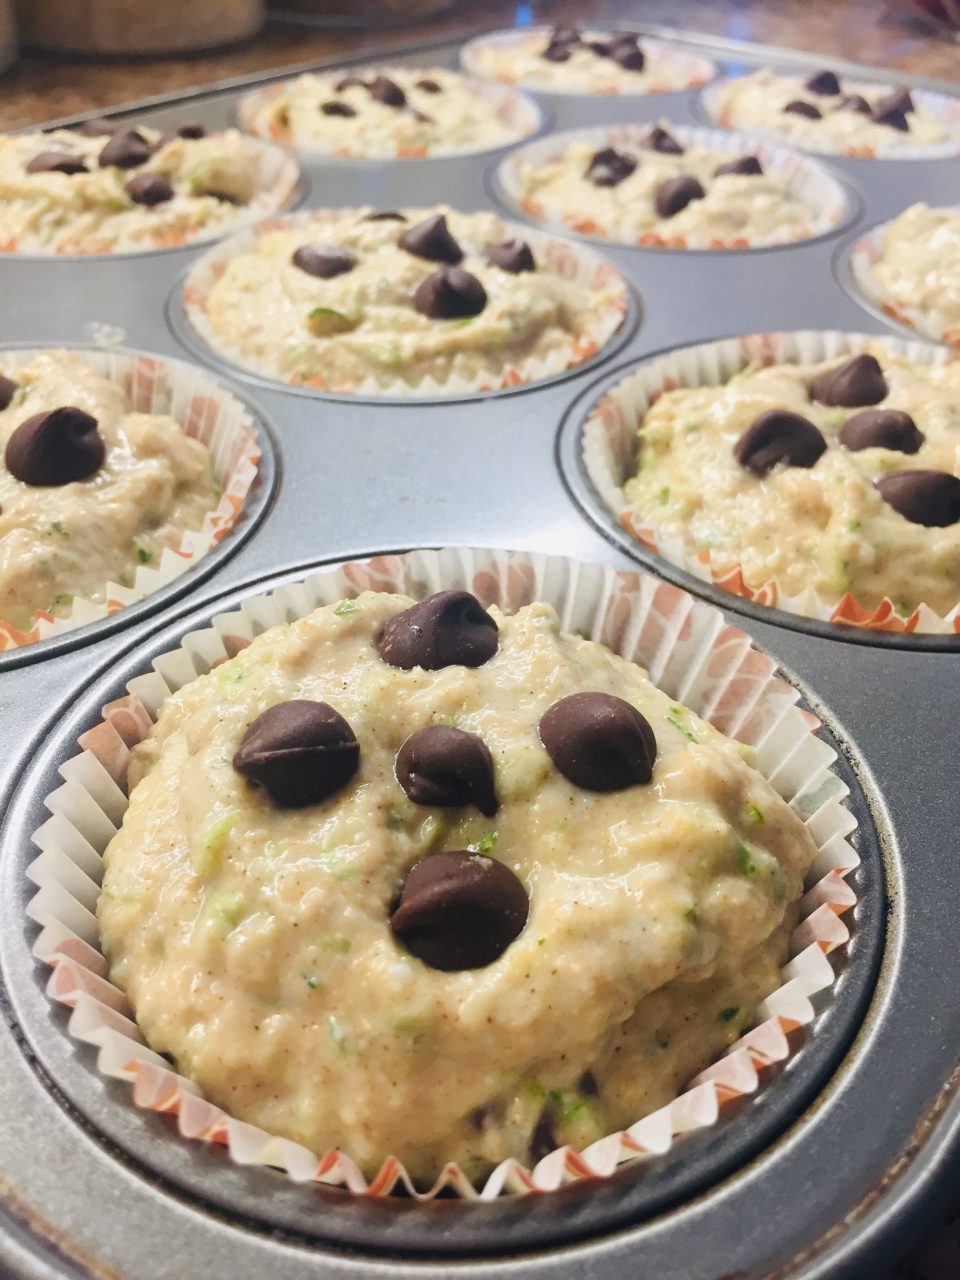
These delicious & most importantly nutritious muffins are dairy free, soy free, and vegan. Made with zucchini, whole grains, healthy fats, and unrefined sugar.

INGREDIENTS:

1 -½ cups grated fresh zucchini a box grater works well, no need to peel (about 2 small-medium)

1 -¾ cups white whole wheat flour

1 -½ tsp baking powder

½ tsp salt

1 tsp cinnamon

1 cup Trader Joe’s Plain Cashew Cultured Beverage (vegan buttermilk)

1/3 cup honey or pure maple syrup

1 flax egg or 1 Large egg

1 tsp vanilla extract or vanilla bean paste

4 Tbsp Coconut oil, melted and cooled slightly

½ cup Vegan Chocolate Chips + more for sprinkling on top (I use Enjoy Life Brand)

Cooking spray (I used Trader Joe’s Coconut Oil)

DIRECTIONS:

Heat oven to 400°F. Line muffin tin with liners and spray lightly with cooking spray. Set aside.

Place grated zucchini in a clean kitchen towel and squeeze out excess liquid over a bowl or the sink. Set aside.

In a large bowl, whisk together flour, baking powder, salt and cinnamon.

In a medium bowl or liquid measuring cup, whisk together buttermilk, honey (or maple syrup), flax egg, zucchini, vanilla and coconut oil.

Pour the wet ingredients into the dry and mix gently with a rubber spatula until combined. Gently fold in chocolate chips.

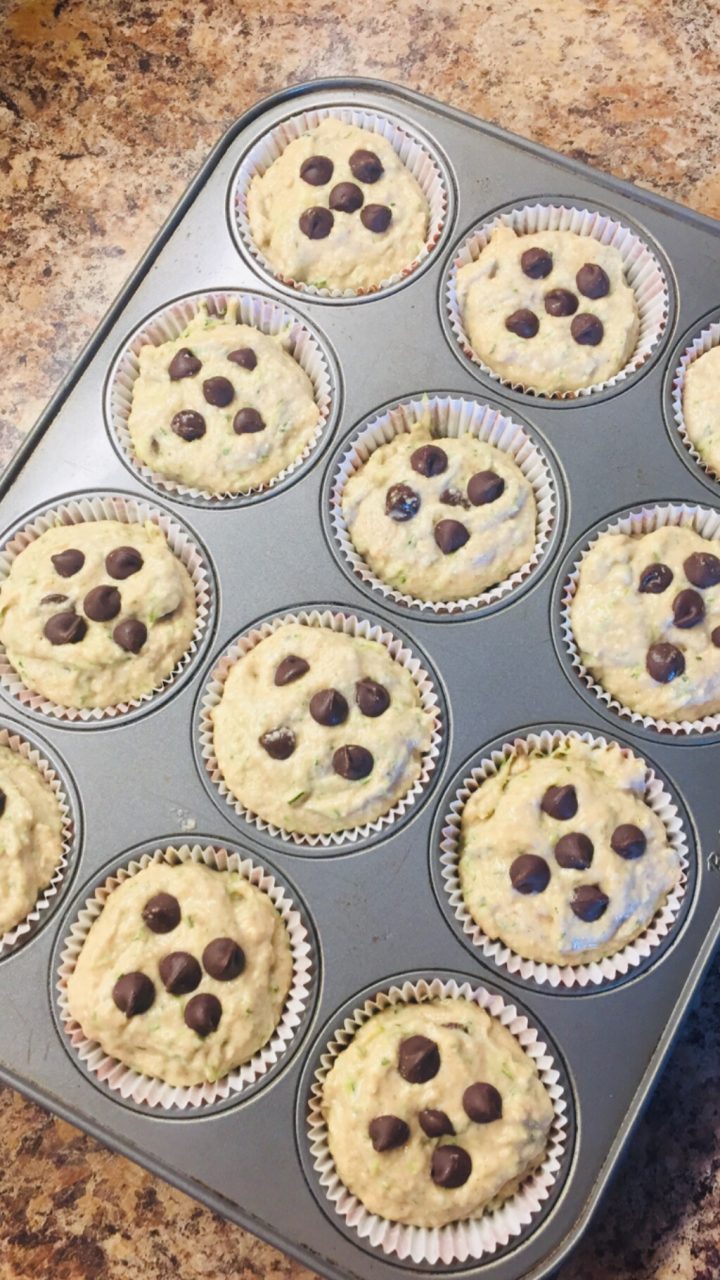
Scoop the batter into the prepared muffin tin, and top each muffin with a few extra chocolate chips.

Bake at 400 degrees for 5 minutes and then reduce oven temperature to 350. Continue baking for 15-20 minutes, until a tester inserted into the center of a muffin comes out clean. Cool muffins in the pan for 5 minutes before removing to a wire rack.

Enjoy! Don’t forget to rate, tag and leave feedback when you try my recipe! Xoxo

VN:F [1.9.13_1145]
Rating: 5.0/5 (1 vote cast)

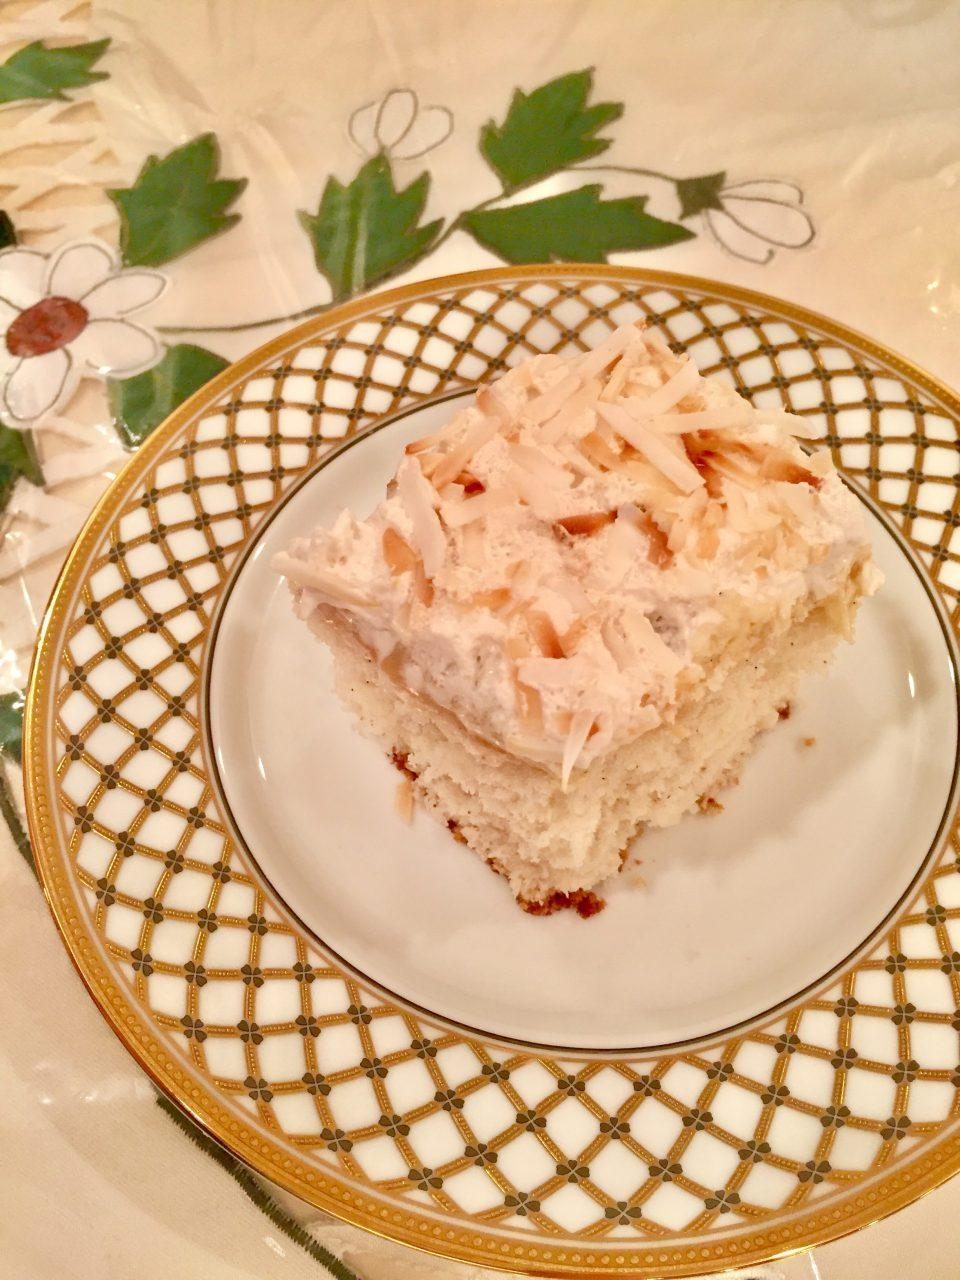
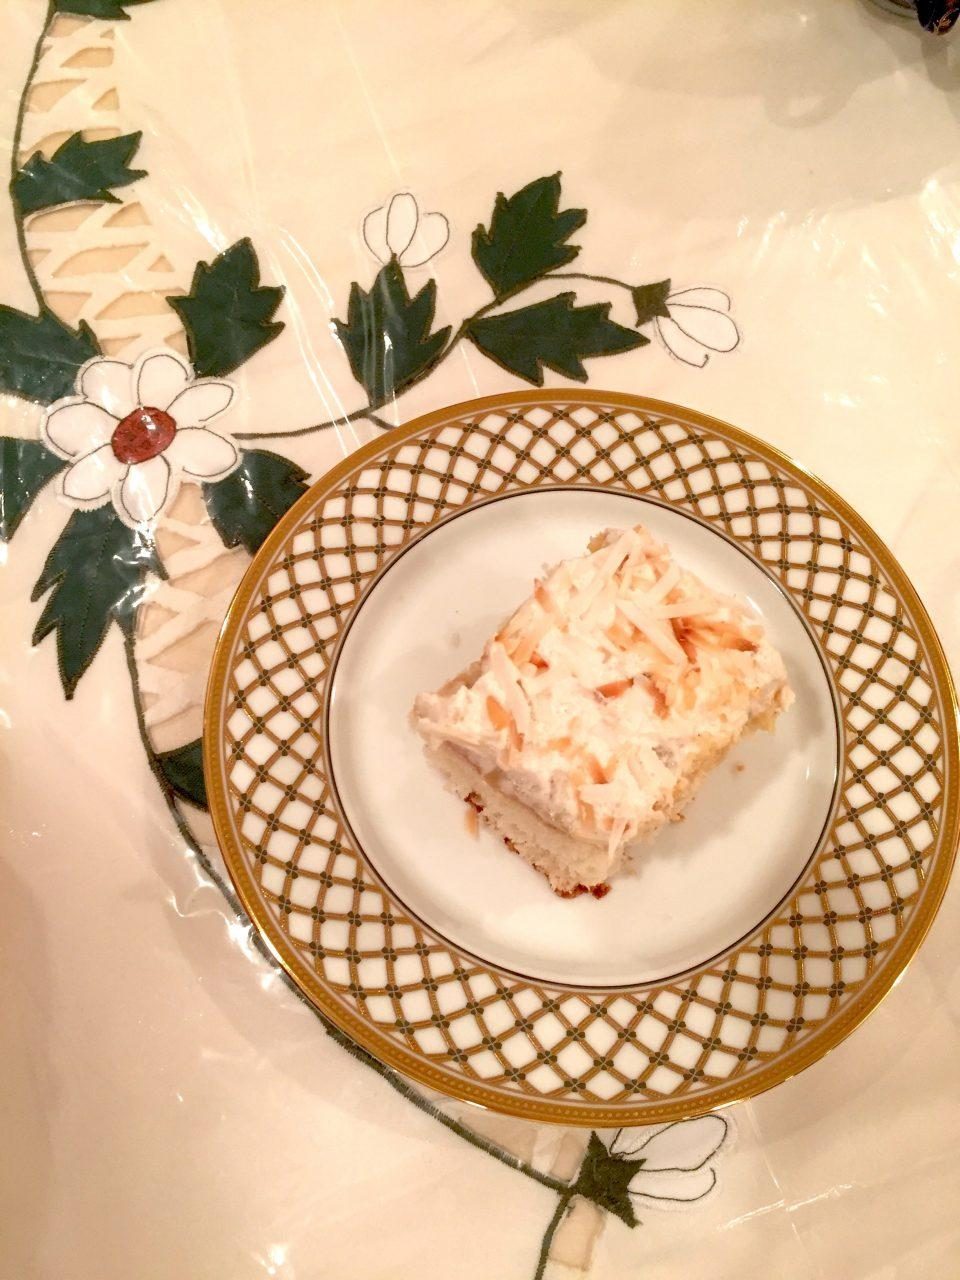
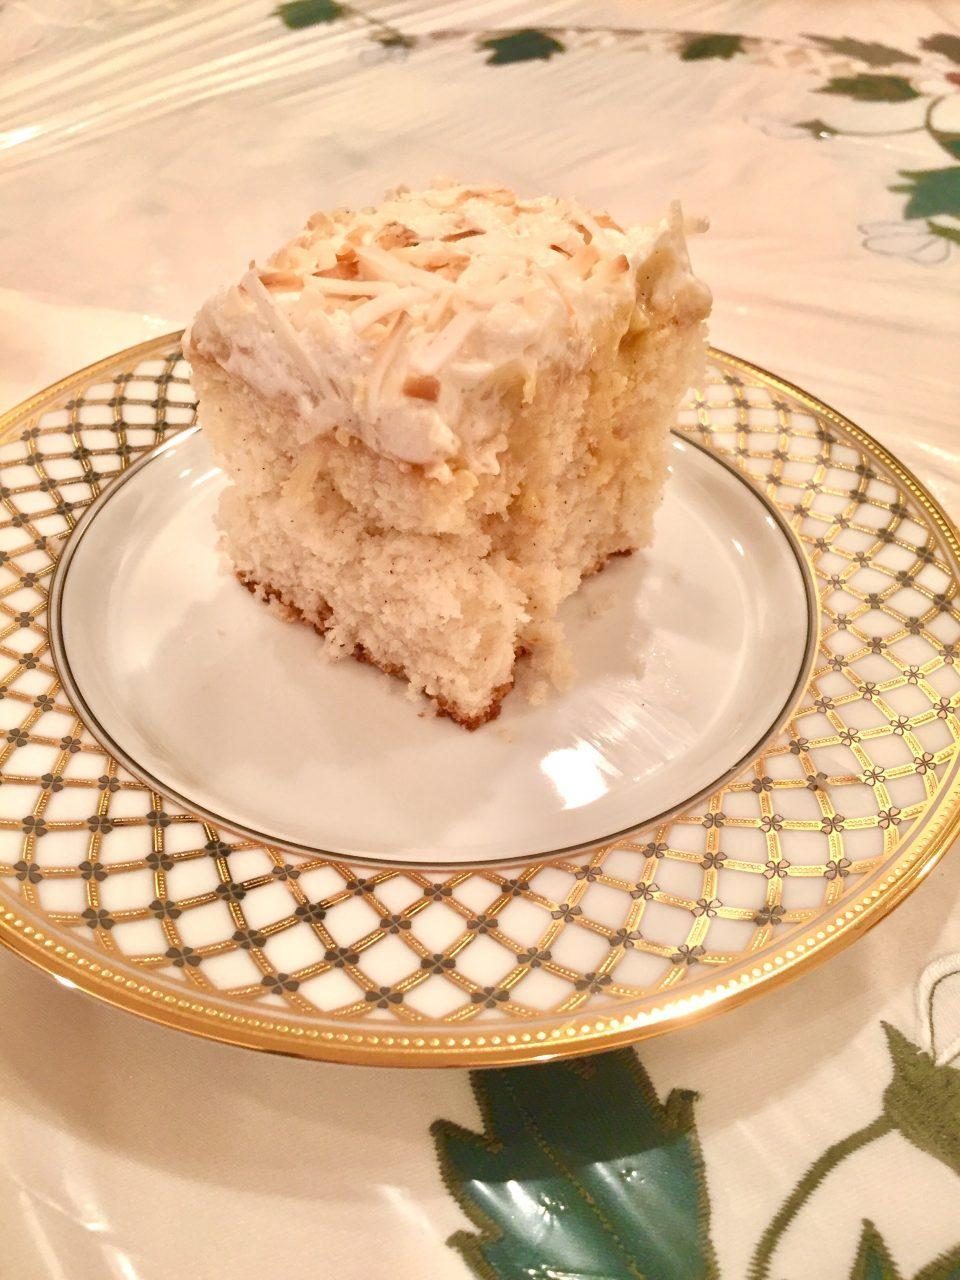
Vanilla Bean Coconut Cream Cake

October 1st, 2019 | Posted by Milana in Dessert | Recipes - (0 Comments)

INGREDIENTS:

CAKE:

2-1/2 cups Sifted Cake Flour (sift cake flour first, then measure out for the recipe)

2 tsp Baking Powder

1/2 tsp Baking Soda

1/2 tsp Salt

1/2 cup Coconut Oil

1/4 cup Unsweetened Applesauce

1-1/2 Cups Evaporated Cane Sugar (or regular granulated sugar)

5 Large Egg Whites, room temperature (you’ll be using the yolks to make custard)

1/3 cup Vegan Sour Cream, at room temperature (I like to use Wayfare)

2 tsp Vanilla Bean Paste (I use Trader Joe’s. Can substitute for regular vanilla extract but won’t have the same flavor)

1 tsp Coconut Extract (I use Flavorganics)

1 cup Ripple Unsweetened Vanilla Milk, room temperature ( or can substitute for canned coconut milk; I like Trader Joe’s Organic)

COCONUT CUSTARD:

1 can Organic Canned Coconut Cream (I use Trader Joe’s)

1 cup Ripple Unsweetened Vanilla Milk

3/4 Unsweetened Shredded Coconut (I use Trader Joes)

2/3 Cup Sugar, divided (I use organic evaporated cane sugar)

1/4 tsp Salt

5 Large Egg Yolks, room temperature

2 Tbsp Organic corn starch or arrowroot powder

1 Tbsp Coconut Oil

1-1/2 tsp Vanilla Bean Paste

COCONUT FROSTING:

1 can Organic Coconut Cream, I get mine from Trader Joe’s, refrigerated at least 2 hours

1 Tbsp Maple syrup or any other sweetener on hand

1 tsp Vanilla Extract

DIRECTIONS:

CAKE: Heat oven to 350F. Grease 9×13” cake pan with baking spray. In a large mixing bowl, whisk the cake flour, baking powder, baking soda, and salt together. Set aside.

Using a handheld or stand mixer fitted with a paddle or whisk attachment, beat coconut oil and sugar together on medium-high speed until smooth. Scrape down sides and bottom of the bowl with a rubber spatula as needed. Beat in egg whites until combined, then add sour cream, applesauce, vanilla paste, and coconut extract. Beat until combined. Scrape down sides as needed. Mixture may look curdled as a result of varying textures. This is normal. With mixer on low speed, slowly add in the dry ingredients and the milk. Beat on low speed until combined.

Pour batter evenly into baking pan and bake for 40 minutes or until a tooth pick inserted in the center comes out clean.

CUSTARD: In a medium sauce pan, combine coconut cream, milk, shredded coconut, 1/3 cup sugar and salt. Bring to a simmer and stir occasionally. While mixture is cooking, In another medium bowl, whisk together the egg yolks, 1/3 cup sugar and starch.

Slowly add 1/2 cup of the coconut mixture into the eggs while whisking to ensure the eggs don’t curdle. Add another 1/2 cup while whisking then transfer yolk mixture into the saucepan with the coconut mixture. Continue whisking until mixture thickens and a few bubbles have surfaced.

Turn off the heat and stir in coconut oil and vanilla bean paste. Let mixture cool down to a warm temperature, mixing every 5 minutes to help cool quickly.

When cake cools, poke holes with the end of a wooden spatula. Pour custard all over cake spreading evenly. Allow to cool completely before frosting.

FROSTING:

Open the can and scoop out the hard cream into a bowl leaving behind any liquid in the can. Add your sweetener and extract and using a hand mixer beat until fluffy and creamy. Frost cooled cake and garnish with toasted unsweetened shredded coconut.

VN:F [1.9.13_1145]
Rating: 5.0/5 (1 vote cast)

Lemon Ricotta Gems

May 28th, 2019 | Posted by Milana in Dessert | Recipes - (0 Comments)

Makes about 45 cookies

INGREDIENTS:

2.5 cups unbleached all-purpose flour

1 teaspoon baking powder

1 teaspoon salt

1 stick unsalted butter, softened

2 cups sugar (I use organic evaporated cane sugar)

2 large eggs, at room temperature

1 (15-ounce) container whole milk ricotta cheese, room temperature

3 tablespoons lemon juice

1 lemon, zested

 For the glaze:

1 cup powdered sugar

3 tablespoons lemon juice

1 lemon, zested

DIRECTIONS:

In a medium bowl combine the flour, baking powder, and salt. In the bowl of an electric mixer combine the butter and the sugar. Beat the butter and sugar on medium speed until light and fluffy, about 5 minutes. Add the eggs, 1 at a time, mixing between additions until well incorporated. Add the ricotta cheese, lemon juice, and lemon zest. Beat to combine. Fold in the dry ingredients. Tightly cover the dough with plastic wrap and refrigerate overnight.

Heat the oven to 350° F.

Line 2 Extra large baking sheets with parchment paper. Scoop the dough (about 1.5 tablespoons for each cookie) onto the baking sheets. Bake for 10-15minutes, until cooked through but still pale. Remove from the oven and let the cookies rest on the baking sheet for 5minutes. Then transfer to a cooling rack. If you don’t have large baking sheets. Chill the dough in between batches. The fastest way to cool down your baking sheets in between is to rinse with cold water and dry them with a paper towel for the next batch. Continue with the remaining dough.

For the glaze, combine the powdered sugar, lemon juice, and lemon zest in a small bowl and stir until smooth. Dip the cookie upside down just until coated. Let the glaze harden for about 2 hours. 

*original recipe was adapted from Giada De Laurentiis.
VN:F [1.9.13_1145]
Rating: 5.0/5 (2 votes cast)

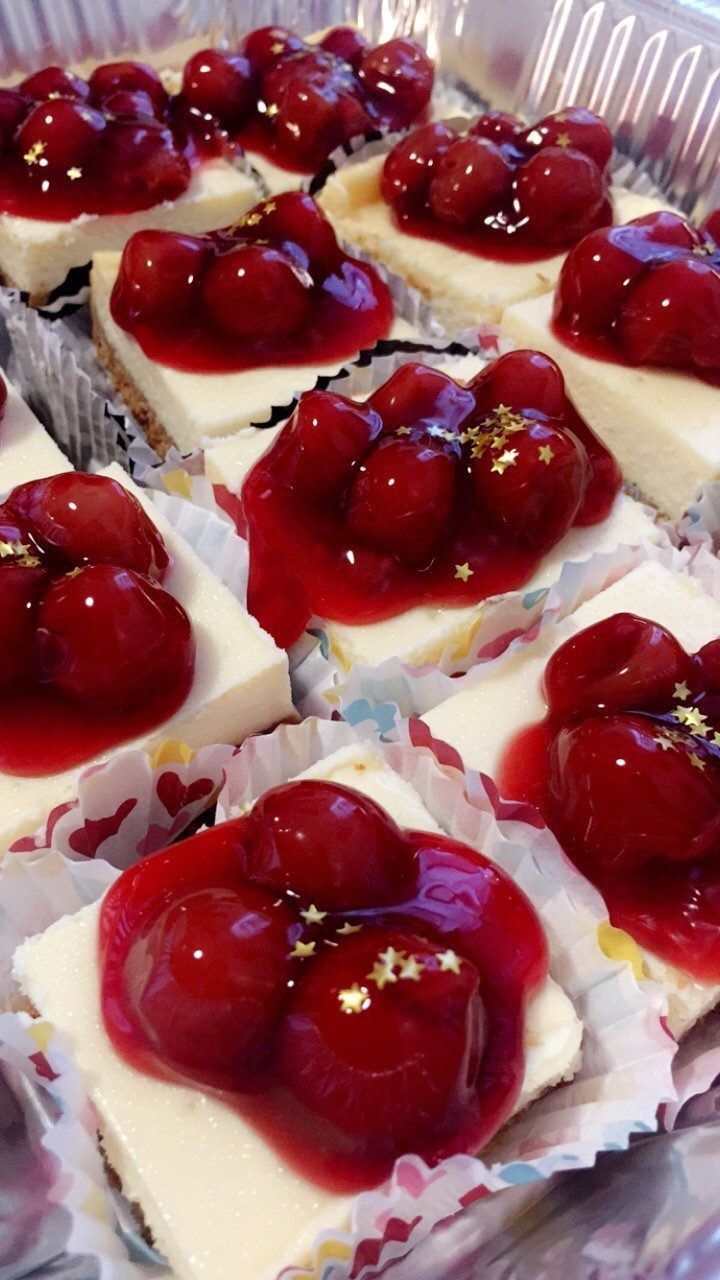
Cherry Cheesecake Bars

May 28th, 2019 | Posted by Milana in Dessert | Recipes - (0 Comments)

Makes 20 squares

INGREDIENTS:

Crust:

2 sleeves graham crackers (I use the ones from Trader Joe’s)

3 Tbsp Unsalted Butter, melted

2 Tbsp sugar (I use organic Evaporated Cane Sugar)

Cheesecake:

3 packages 8oz. Cream Cheese Blocks, room temperature

1 cup sugar

3/4 cup sour cream, room temperature

1.5 tsp vanilla extract

1/4 tsp salt

3 large eggs, room temperature

1 can cherry pie filling, I use Omena Organics Organic Cherry Pie Filling

DIRECTIONS:

Heat oven to 325°F. Line a 9×13″ pan with parchment paper, leaving a 2″ overhang on both sides.

Crust:

Place graham crackers, melted butter and sugar in a food processor and process on medium until its finely ground and incorporated with all the butter.

Pour on to the parchment paper and using the back of a dry measuring cup, press down and even put the layer. Bake for 15 min. Put on the cooling rack (leave the oven on) while you make the filling.

CHEESECAKE FILLING:

In a 9-cup food processor with a dough blade or regular blade, process 3 blocks of cream cheese with sugar, scraping down the sides and some of the bottom with a silicone spatula in between (about 3 min.) until uniform in consistency . Add sour cream, vanilla and salt and process for another 2 minutes until incorporated and creamy. Add one egg at a time processing until glossy in between (about 60 sec. ). Scrape down the sides and the bottom and process again. Pour over the crust, making sure the top is even and gently hit the pan against the table to let out any air bubbles.

Bake for 40 min. Until the filling is set around the edges but still slightly wobbly when you give a gentle shake to the pan. Move the pan over the cooling rack and let cool for an hour to room temperature. Cover with foil and refrigerate for at least 3 hours or overnight. (I chilled mine overnight)

To cut, use a sharp chefs knife to cut into bars. Wash with hot water in between and dry completely before making each cut. Scoop a table spoon of cherry pie filling over each square. Keep refrigerated until ready to serve. Enjoy!

VN:F [1.9.13_1145]
Rating: 5.0/5 (2 votes cast)

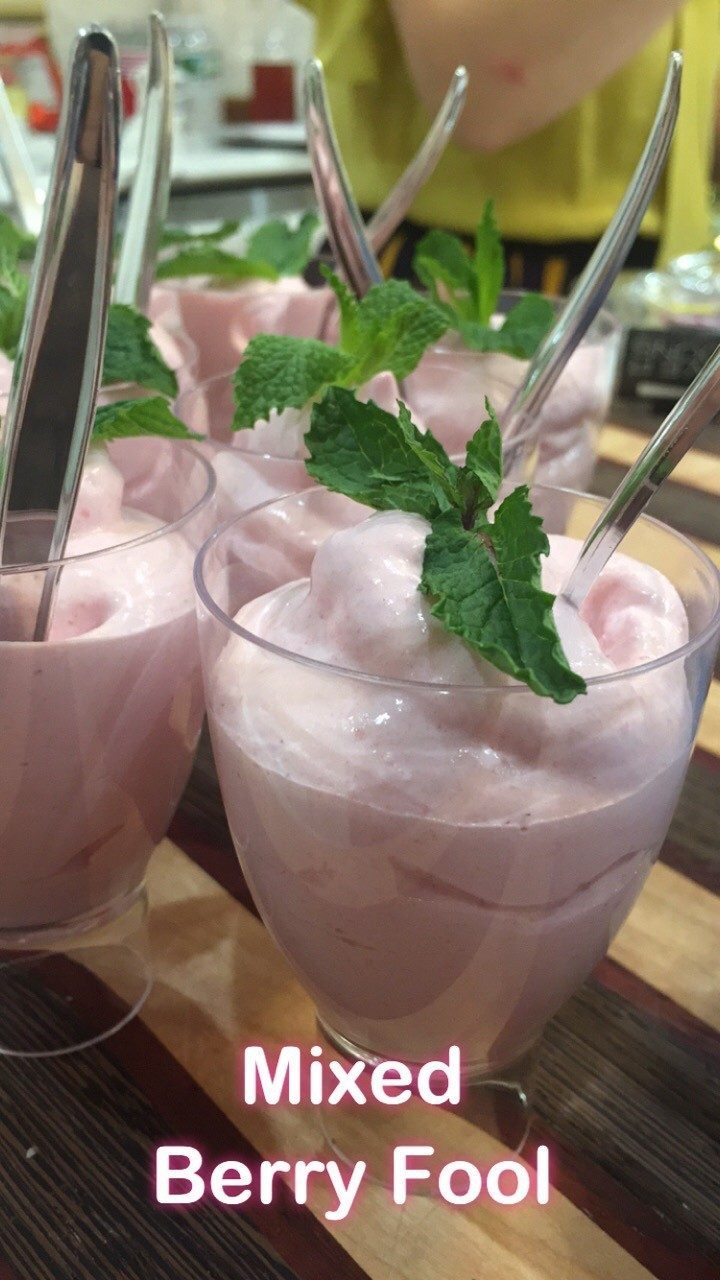
Mixed Berry Fool

November 29th, 2018 | Posted by Milana in Dessert | Recipes - (0 Comments)

INGREDIENTS:

1 container So Delicious Whipped Topping, thawed in the fridge

1/4 bag of frozen strawberries, thawed

1/4 bag of frozen raspberries, thawed

1/4 bag of frozen blueberries, thawed

Fresh mint leave for garnish

Fine mesh sieve

Food processor

DIRECTIONS:

In a food processor, purée all the berries and pour the mixture into a fine mesh sieve and press with a spatula until you are left with just seeds. Discard the seeds. Fold the whipped topping into the berry purée. Distribute between serving cups and garnish with mint. Enjoy chilled.

VN:F [1.9.13_1145]
Rating: 5.0/5 (1 vote cast)

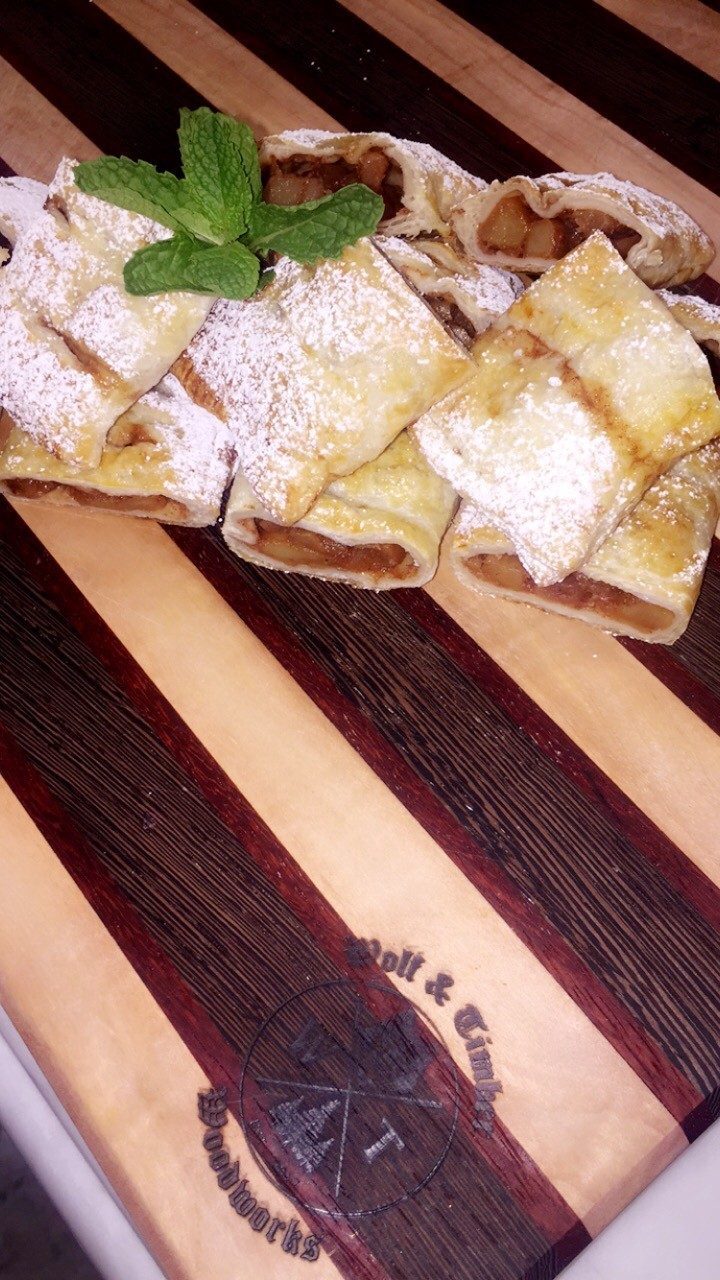
Apple Turnovers

November 29th, 2018 | Posted by Milana in Dessert | Thanksgiving - (0 Comments)

INGREDIENTS:

  • 1 (17.3 oz) pkg frozen puffed pastry, thawed according to pkg directions
  • 4 medium apples – peeled, cored, and thinly sliced (I used 2 Granny Smith and 2 gala)
  • 2 tsp lemon juice
  • ½ cup brown sugar
  • 1 tsp cinnamon
  • 2 dashes of pumpkin pie spice (use nutmeg if you don’t have PPS)
  • 1 Tbsp Vegan butter, divided
  • 1 egg, beaten
  • 1 Tbsp powdered sugar for decoration

INSTRUCTIONS:

  1. In a saucepan, cook the apple slices with the lemon juice until they start to soften.
  2. Add the sugar, cinnamon, and pumpkin pie spice. Cook for 8 minutes.
  3. Remove from heat and mix in 1 Tbsp butter until melted. Allow mixture to cool.
  4. Once mixture is cooled preheat oven to 425 F degrees.
  5. Open puff pastry and cut each sheet into 4 squares.
  6. Place a spoonful of the cooled apple mixture on half of each square.
  7. Fold over each half of the square sealing edges, creating a rectangle.
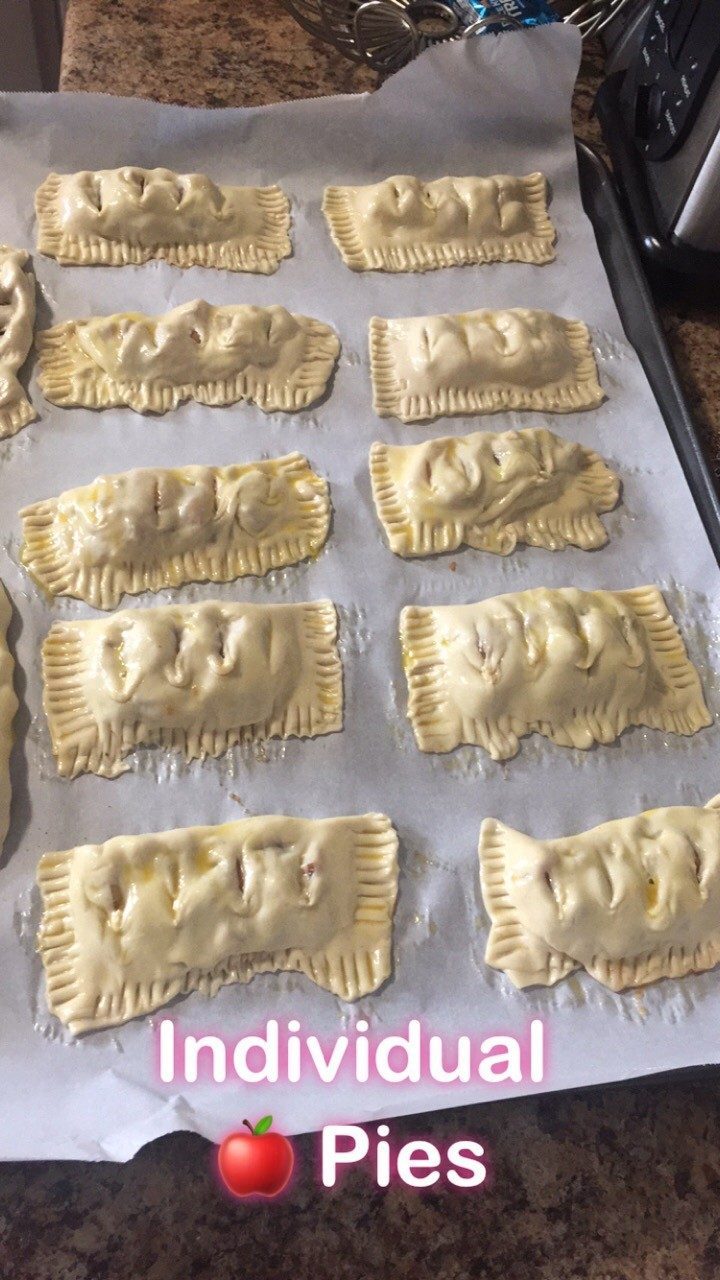
  8. Place pastries on a baking sheet lined with parchment paper. Crimp edges with fork. Cut 3 slits on the top of each pastry. Brush with egg wash. Bake for 10-15 minutes or until golden brown. Remove from oven and allow to cool completely before the sprinkling with powdered sugar.
**Original Recipe adapted from Real Mom Kitchen.
VN:F [1.9.13_1145]
Rating: 5.0/5 (3 votes cast)

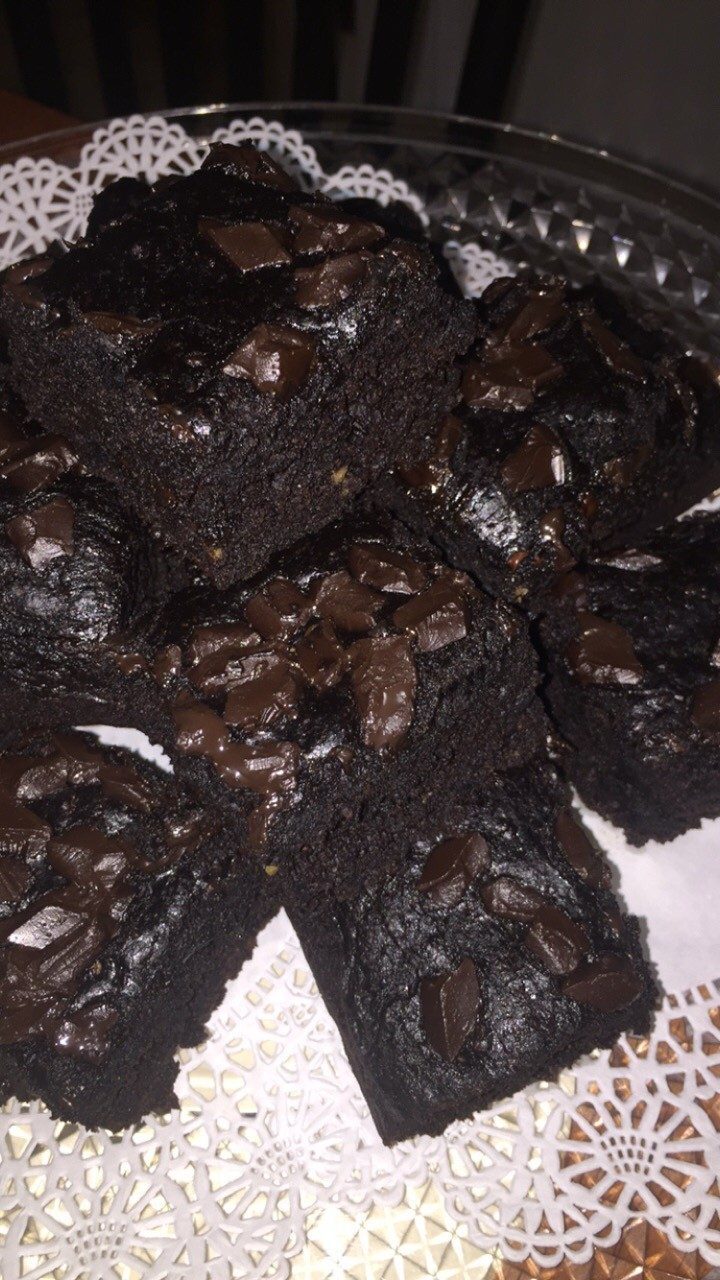
INGREDIENTS:

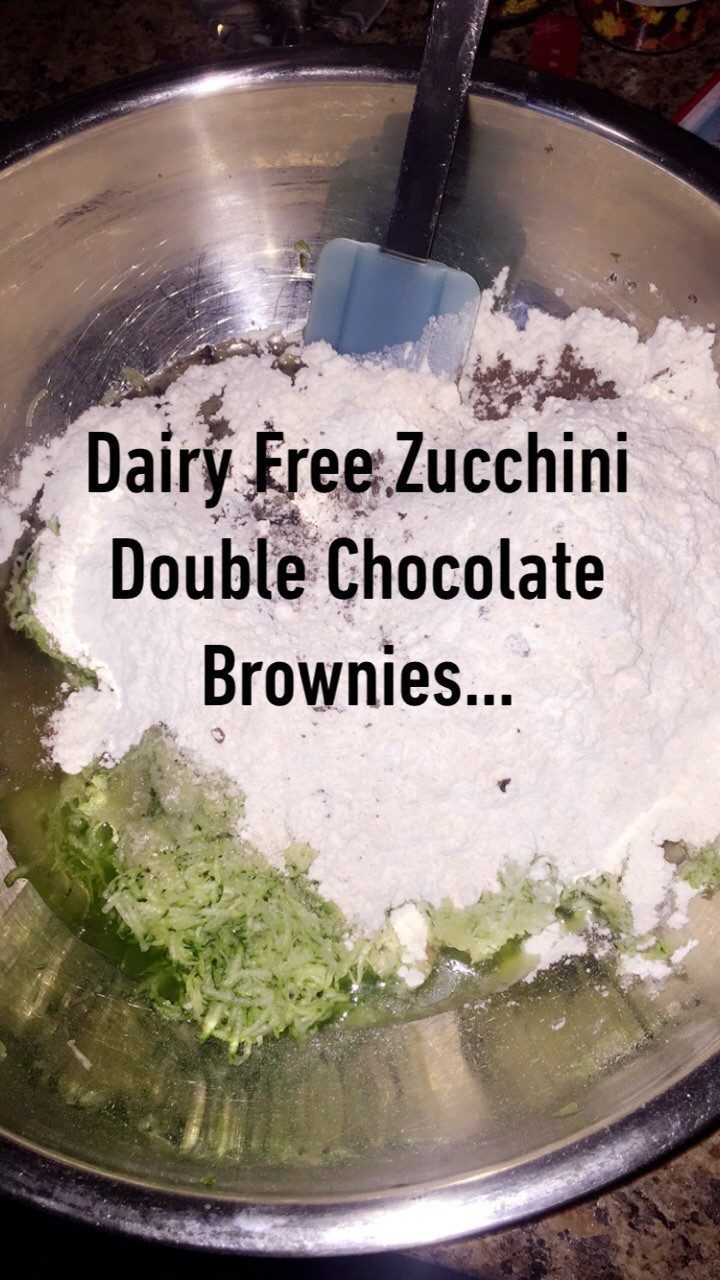
3 cups shredded zucchini (on the smallest side of the box grater), do not drain

2 cups flour (I used half white Whole wheat and half unbleached all purpose)

1/2 cup sugar ( I use organic evaporated cane sugar or coconut sugar) (if you like brownies a little sweeter you may add an additional 1/2 cup but it will alter the nutritional content)

1-1/2 tsp baking soda

1/2 cup avocado oil (or any neutral oil)

1/2 cup unsweetened cocoa powder (I used special dark cocoa

1/2 tsp salt

1 Tbsp vanilla extract

1-1/4 cups vegan chocolate chips (save some for topping)

DIRECTIONS:

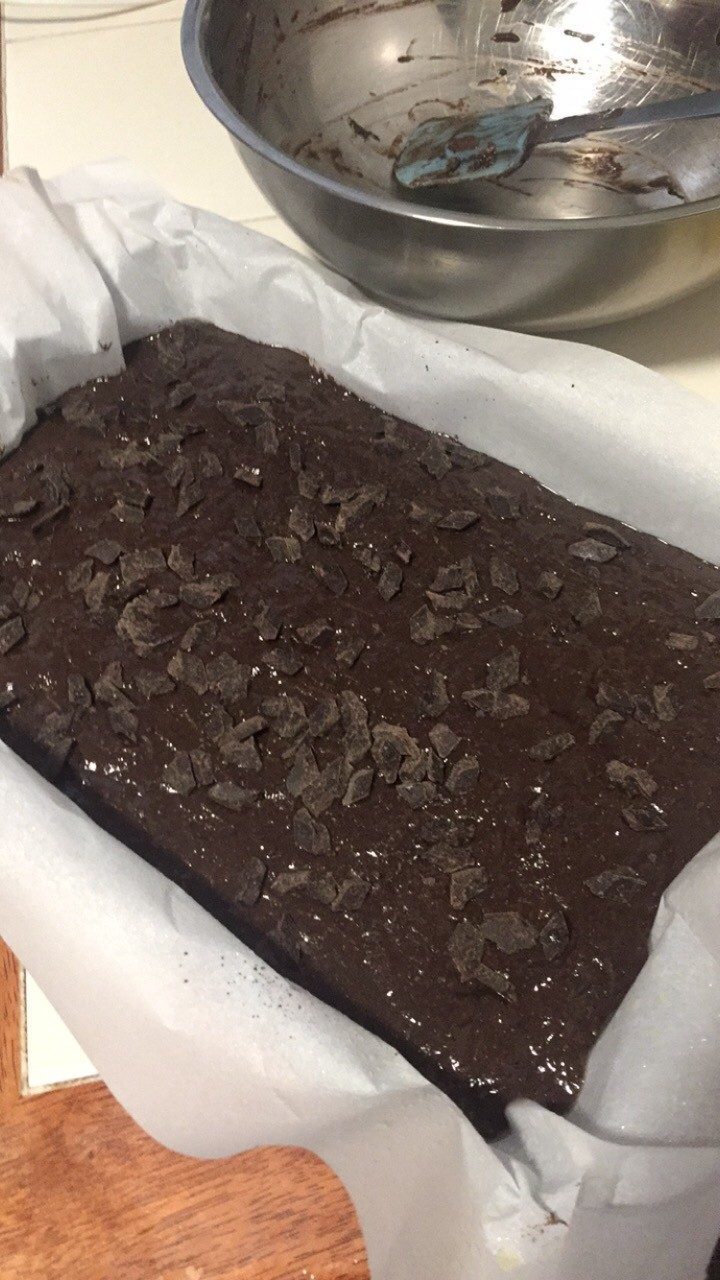
Heat oven to 350F. Prepare a 9×13 baking pan line with parchment paper greased with cooking spray.

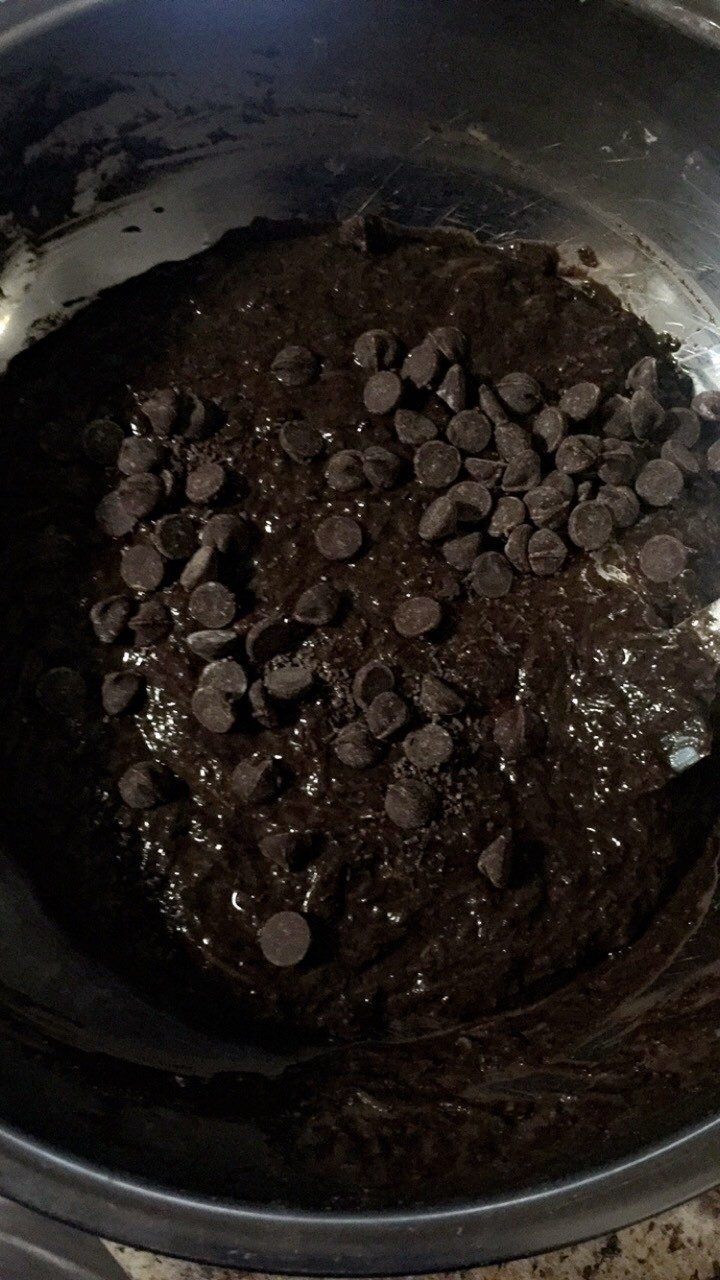
In a large bowl shred your zucchini. Add the rest of the ingredients and stir with a spatula until well combined.

Pour into pan evenly and top with remaining chocolate chips. Bake for 25-35 min until tester comes out clean and not wet. Some crumbs is fine on the tester as long as it’s not wet with batter.

Let stand for 20 min. Serve warm or room temperature. Enjoy.

*original recipe adapted from I am baker.

VN:F [1.9.13_1145]
Rating: 5.0/5 (2 votes cast)

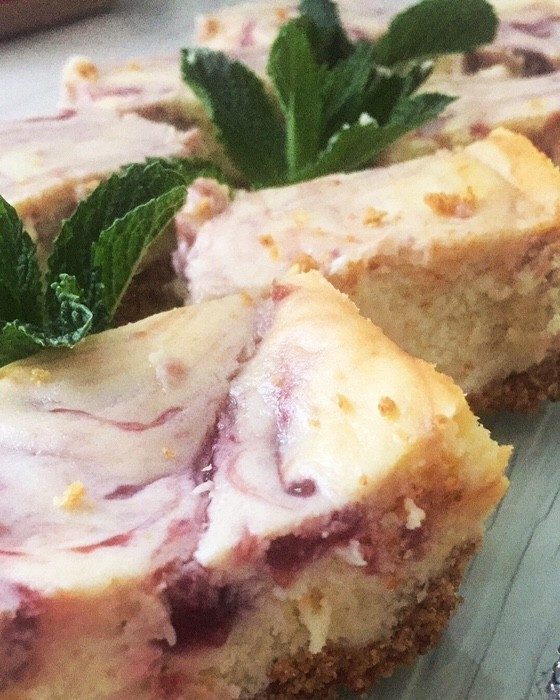
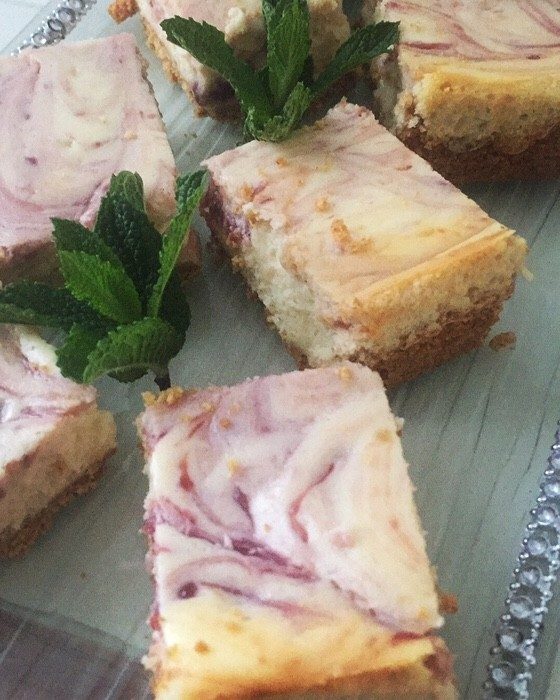
Cheesecake Bars w/ Raspberry Swirl

February 22nd, 2018 | Posted by Milana in Dessert | Recipes - (0 Comments)

http://www.milanasays.com/wp-content/uploads/2018/02/img_9108.mov

INGREDIENTS:

Crust:

2 sleeves of Graham Crackers

2 Tbsp sugar

4 Tbsp melted unsalted butter

Cheesecake:

16 oz. Cream Cheese Blocks, softened

2 eggs, room temperature

1-1/4 cups sugar (I used evaporated cane sugar)

4 Tbsp Sour Cream

4 Tbsp Unbleached All Purpose Flour

Zest of one lemon (I used a Meyer lemon)

2 tsp vanilla extract

8 tsp Organic Raspberry Jelly or Preserve (I used Trader Joe’s organic Raspberry Fruit Preserve)

DIRECTIONS:

Heat oven to 350F. Line a 9×13′ baking pan with parchment paper and set aside. In a food processor make the crust combining the graham crackers and sugar and process while slowly pouring in the butter. Press into the prepared pan with the back of a measuring cup. Bake for about 7-10 min until set. Set aside to cool.

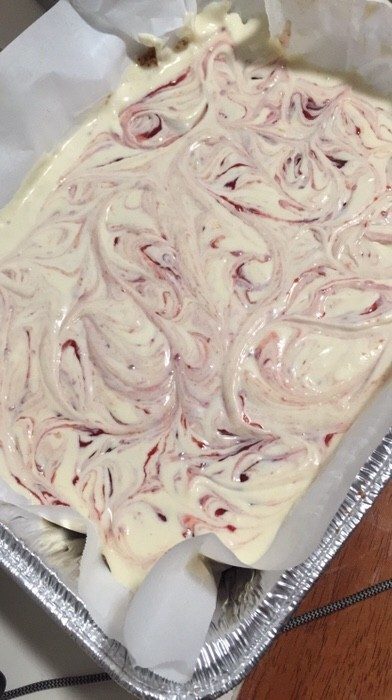
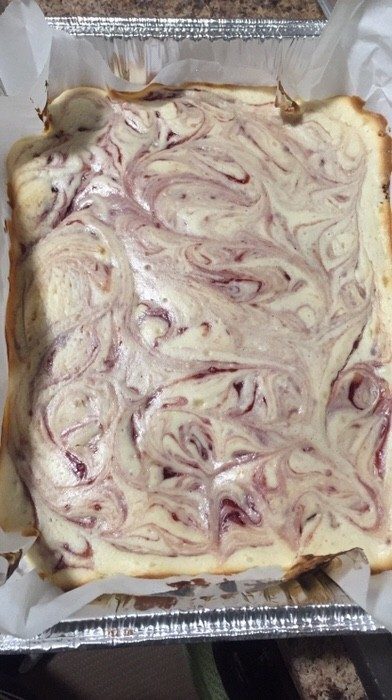
In the meantime make the cheesecake filling. In a stand mixer, beat the cheesecake until creamy. Add sugar and zest, beat in well. Add sour cream, vanilla and baking powder. Beat until incorporated. Finally, add the eggs and beat until smooth. Pour onto the crust and drop teaspoons of the raspberry preserve over the top and swirl with a knife as shown in the video above. Bake for 35-40 minutes. Cool completely in the pan and chill in the fridge for at least 4 hours or overnight. Cut into squares and serve. Yields 16- 18 squares depending on how big or small you cut them. Enjoy!

** original recipe adapted from Crunchy Creamy Sweet.
VN:F [1.9.13_1145]
Rating: 5.0/5 (2 votes cast)