Italian Rainbow Cookies
INGREDIENTS:
1.5 Cups Organic Vegan Shortening (I use Spectrum Organics)
1 Cup Unbleached All Purpose Flour (I use King Arthur Flour)
1 Cup White Whole Wheat Flour (I use King Arthur Flour)
8 oz. Almond Paste (I use Solo )
1 Cup Coconut Sugar (I use Madhava)
4 Large Eggs, Room Temperature, Separated (Pete & Gerry’s Organic)
1/2 tsp Almond Extract (I use Flavorganics)
1/2 tsp salt ( I use Himalayan salt)
Red and Green Plant Based Food Coloring (I use Color Garden Dyes Holiday Pack)
1/2 Cup Organic Apricot Preserve (I use Trader Joe’s)
1/2 Cup Organic Seedless Raspberry Preserve (I used Trader Joe’s)
1/2 a package of 10oz. bag of Enjoy Life Semi Sweet Chocolate Chips
1/3 bar of 100% Cacao Baking bar (I use Dagoba Organic)
1 Tbsp Vegan Shortening
Cooking Spray
3- 9” x 13” x 0.75” non-stick pans
Off-Set Spatula
food processor
Parchment Paper
Cooling Rack
DIRECTIONS:
1.Prep. First, position racks in the upper and lower thirds of the oven; preheat to 350 degrees F. Spray the pans with cooking spray and lay parchment paper in each one.
2.Make the batter. Put your almond paste in a food processor to get it finely crumbled. In a stand mixer fitted with the paddle attachment, combine the almond paste, sugar, and the shortening. Beat on medium speed until combined. Beat in the egg yolks, one at a time, and extract and until smooth . Add flour and salt and beat until just combined. In a clean bowl, using a hand mixer, whisk the egg whites on low-medium until stiff peaks form. Fold about one-third of the egg white mixture into the batter with a rubber spatula, then gently fold in the rest.
3.Color the batter. Divide the batter evenly among 3 bowls. I used a digital kitchen scale. Stir enough red and green food coloring in 2 of the bowls to create a red and green batter. Leave the third bowl uncolored.
4.Bake the layers. Transfer the batter to the prepared pans (one pan for each color). Dip an offset spatula in water and spread the batter to the edge of each pan, smoothing the tops (the layer of batter will be very thin). Bake for about 8 to 10 minutes. Let cool completely in the pans on wire racks.
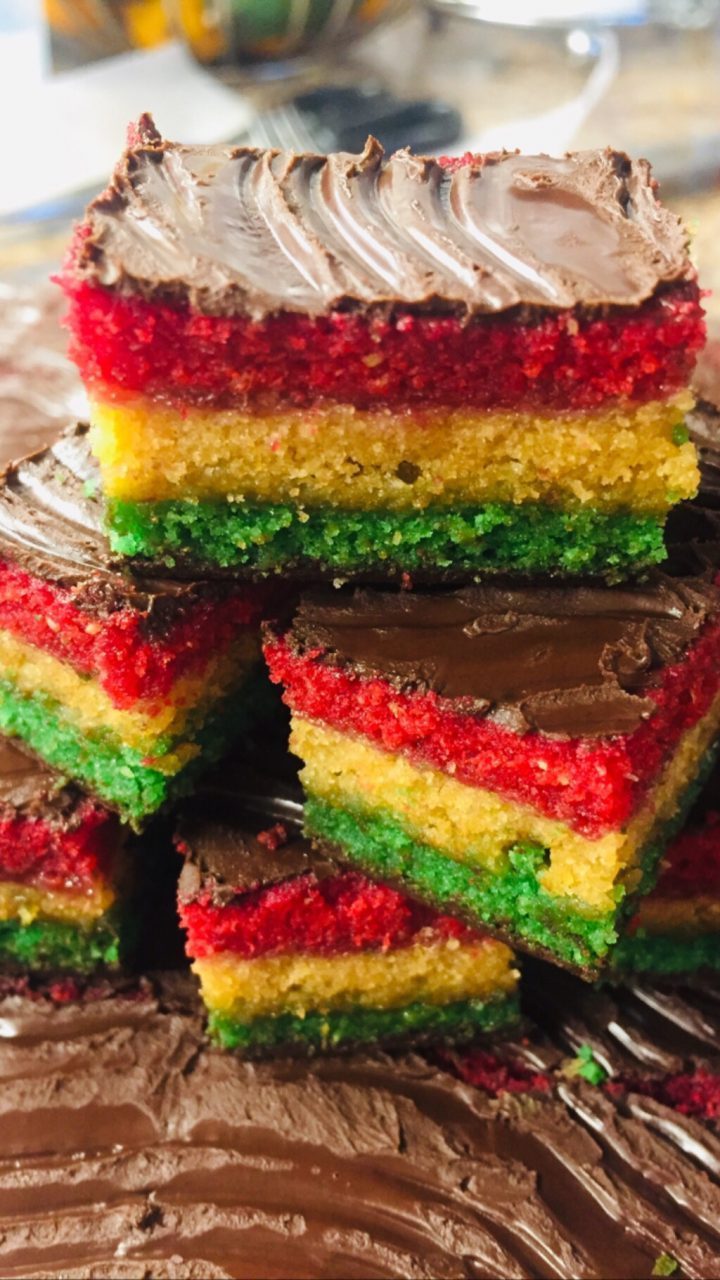
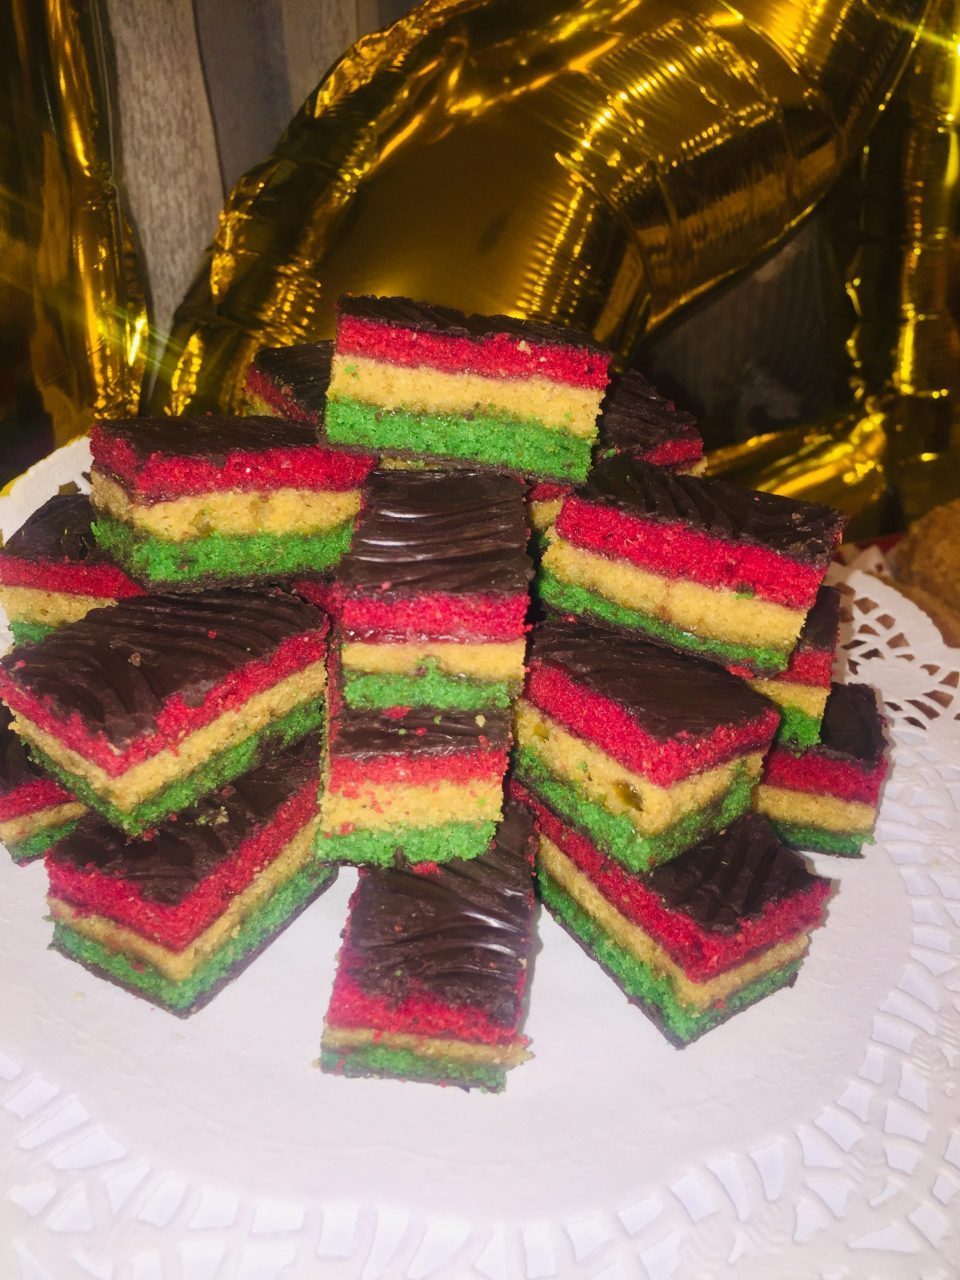
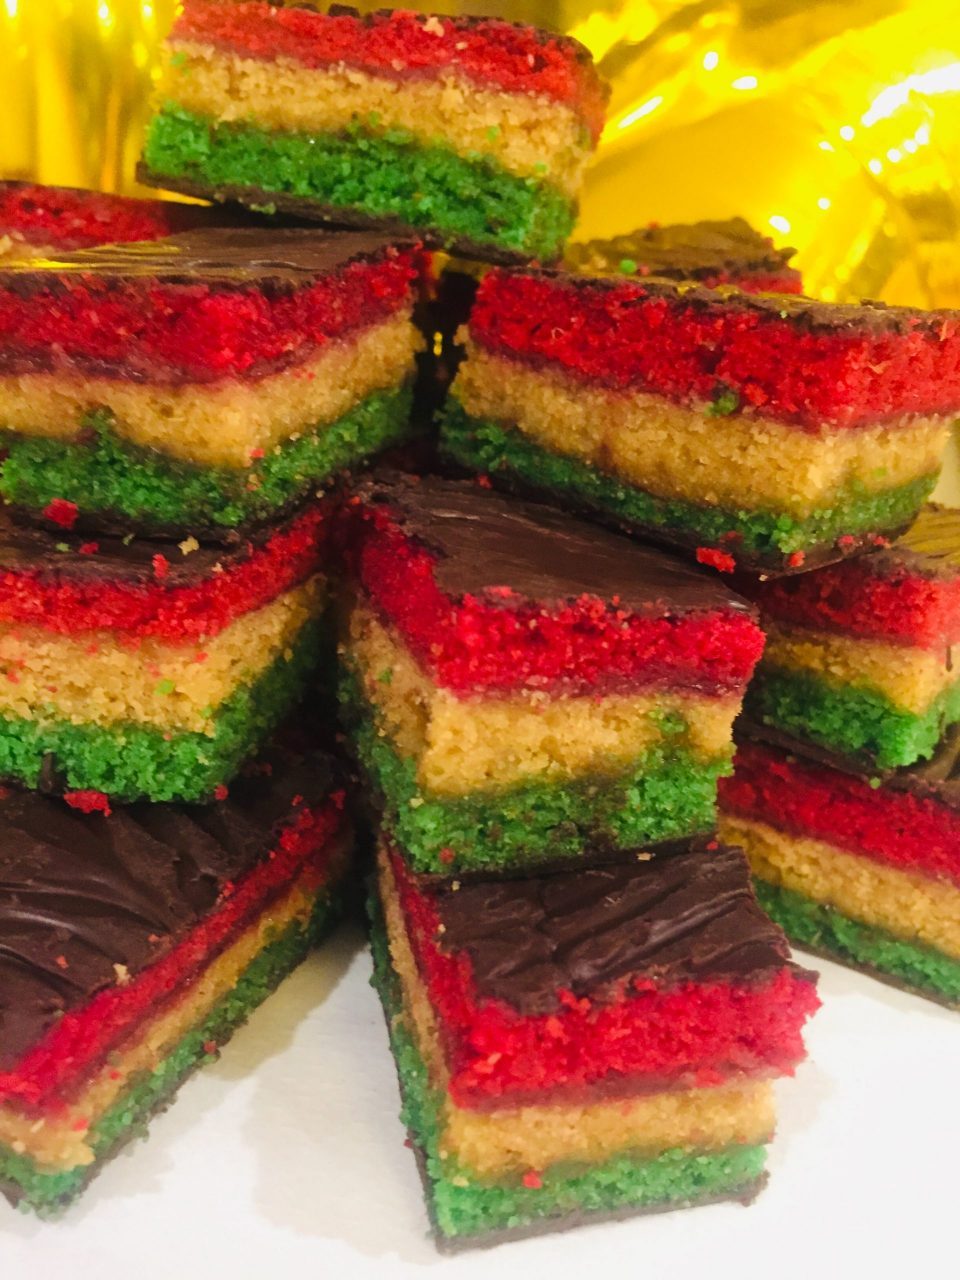
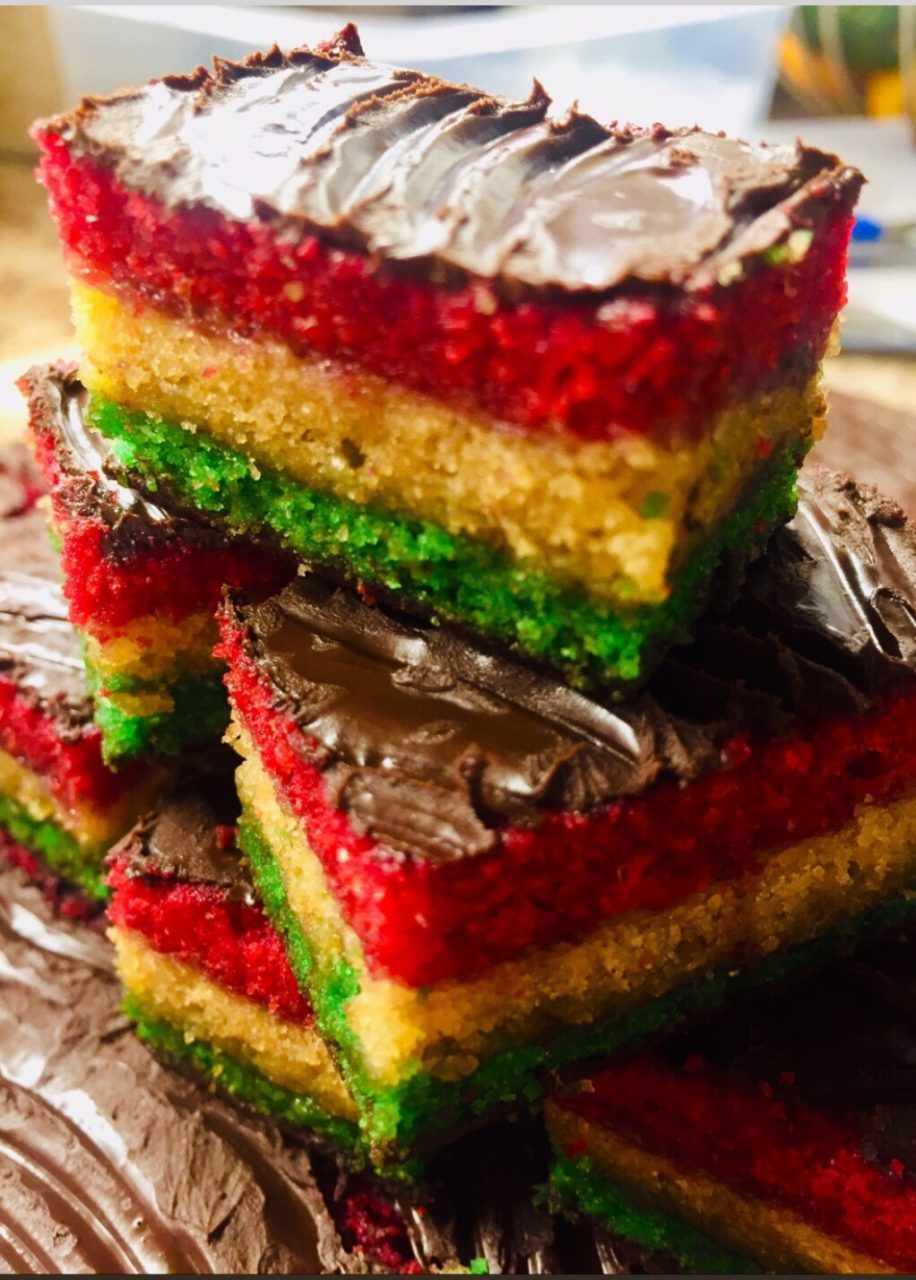
5.Assemble the layers. Remove the green layer onto a large cutting board. If your preserves are a bit hard, heat it up until it is somewhat liquefied. Spread the raspberry jam evenly on top of it (use as much as is needed to make a thin layer). Remove the plain cake layer by inverting it onto the green layer. Peel off the parchment paper. Spread the apricot jam on top of the plain layer. Remove the red cake layer by inverting on top of the plain layer. Peel off the parchment paper.
6.Trim the cake. Trim the sides with a serrated knife to make straight edges. Set a cooling rack over a baking sheet. Carefully slide the cake onto the rack, using a wide offset spatula to help you, if necessary.
7.Cover in chocolate. Melt the chocolate (preferably in a double boiler) and pour over the cake. Use an offset spatula to spread and smooth the chocolate on the top. Allow the chocolate to cool for 45 min. Flip the cookie to the other side and pour the rest of the melted chocolate. Let set slightly for about 15-20 minutes. Scrape wavy lines into the chocolate with a fork. If the lines in the chocolate don’t hold their shape, let the chocolate set a little longer and try again.
8.Cut the cake. Slide the cake back onto the cutting board. Cut the cake into 1”x 1.5” squares. Slice crosswise into strips, and then cut each strip into rectangular pieces. For clean edges, dip the knife in warm water and wipe it with a paper towel in between cuts.
10.Store in an airtight container. Your cookies will stay fresh in a tight container at room temperature or in the fridge for up to 1 week, but it’s doubtful these tasty gems will last that long.
Original recipe was adapted from Tripping Blonde.